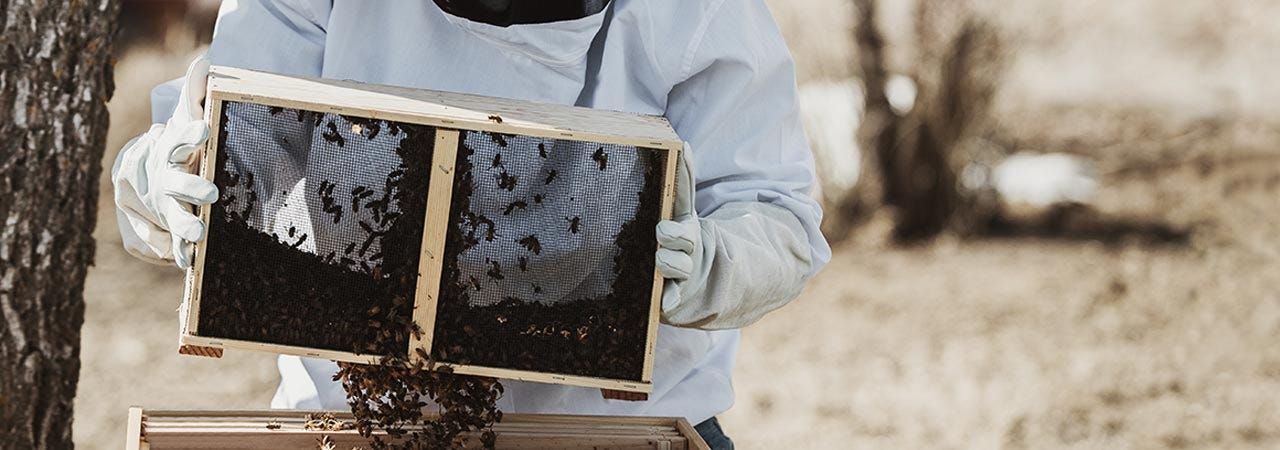

Bee Package Installation
The method used to install your package(s) will depend on your setup. There are many ways to install packaged bees. These installation instructions are for the Dump and In-Hive Methods. To begin, have all your tools ready:
- A spray bottle with 1:1 sugar syrup
- A hive tool
- A mini-marshmallow or soft candy
To start, lightly spray the package with sugar syrup. Pry the can with your hive tool from the hole in the package and pull it out. You may need to use some force to remove it. Set the can aside. Take out the queen cage, make sure the queen is alive and put her into your pocket. Keep her warm, but don’t smother her. Remember, do not use smoke on packaged bees.
Dump Method
For this method, begin by following the instructions in the Both Methods section. Next, set up on the bottom board, a deep hive box with 9 frames and a frame feeder filled with 1:1 sugar syrup. Take the middle 3 frames out and set aside. Now, you have an open space to dump the bees.
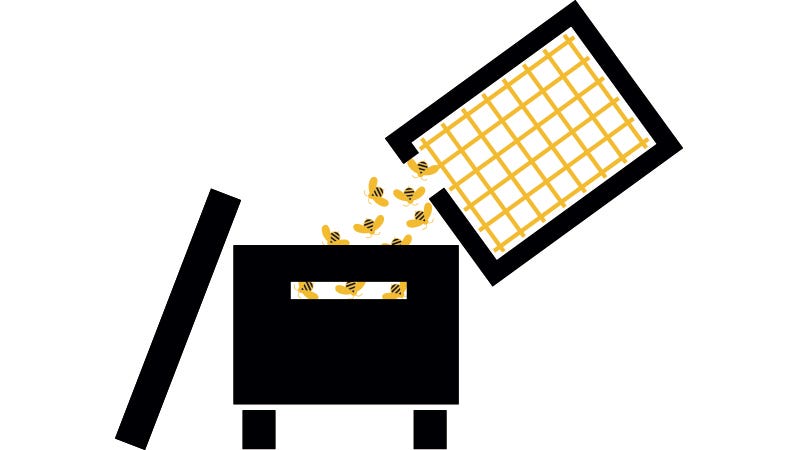
- To start, with a forceful motion, hit the bottom of the package on a solid surface. The cluster of bees will fall into the bottom of the box. Quickly and calmly shake the bees into the open space. Bees cluster tightly so, shake hard, back and forth.
- Next, slide the whole package into the deep hive body. You may want to add queen pheromone to bait the bees out of the box between the far frames.
- Next, make sure that the bees have access to the queen through the screen on the queen cage. The bees will eat the candy or mini marshmallow and release her.
- Then you’ll want to check your bees in 5-7 days to make sure the queen has been released. If she is not released, carefully enlarge the hole and release her OVER and DOWN onto the top bars. Be careful, as she is fast! Cover the hole with your finger until you are ready. Release the queen and then add the cover.
In-Hive Method
This method of installation is not rushed, and you do not have to knock the bees from their swarm cluster inside the package.
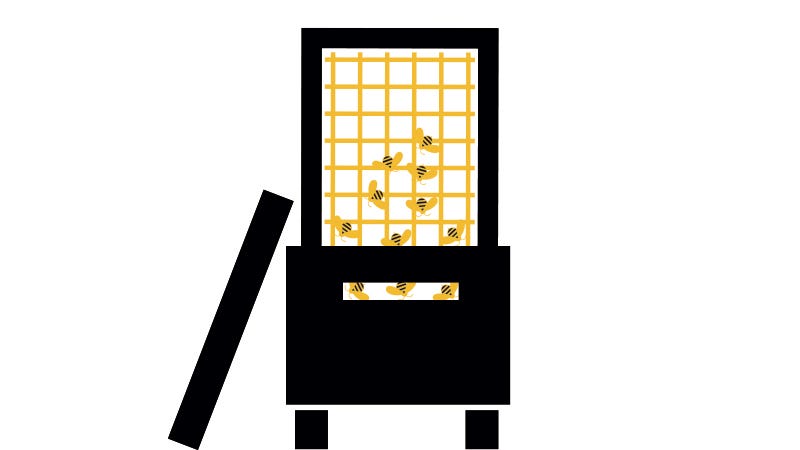
- Begin by following the instructions in the Both Methods section, and then slide all of the frames to one side to make space for the package. Keep one frame away from the open space, and then hang the queen cage. *Remember to poke a hole in the candy plug. Slide the frame over so it’s tight.
- Next, slide the whole package into the deep hive body. You may want to add queen pheromone to bait the bees out of the box between the far frames.
- Then, REMOVE THE PACKAGE WITHIN 24 HOURS. If the package is not removed, the bees will begin to draw wax and the queen will lay eggs in the comb. You can shake out the stray bees. Then you can add the remaining frames and top off the sugar syrup into the frame feeder you installed before adding the bees. Finally, add the cover. Installation is complete!
Transportation Tips
Bees can be affected in transport by wind damage, getting too hot, too cold, or by getting wet. To safely transport your bees, keep these things in mind:
- Prepare your hive location before you pick up your bees. This will help you become familiar with your equipment and make the installation process more seamless.
- If you cannot install your bees into their hive immediately, keep your bee package in a dark, cool, dry place. *Do not store bees outside if weather conditions are fluctuating (rain, snow, heat, wind).
- Maintaining a consistently cool/dry environment will help ensure that your hive has a better chance of survival when introduced to their new hive.