
How to Install Drip Irrigation in a Vegetable Garden: Step-by-Step Guide
The best way to water your garden
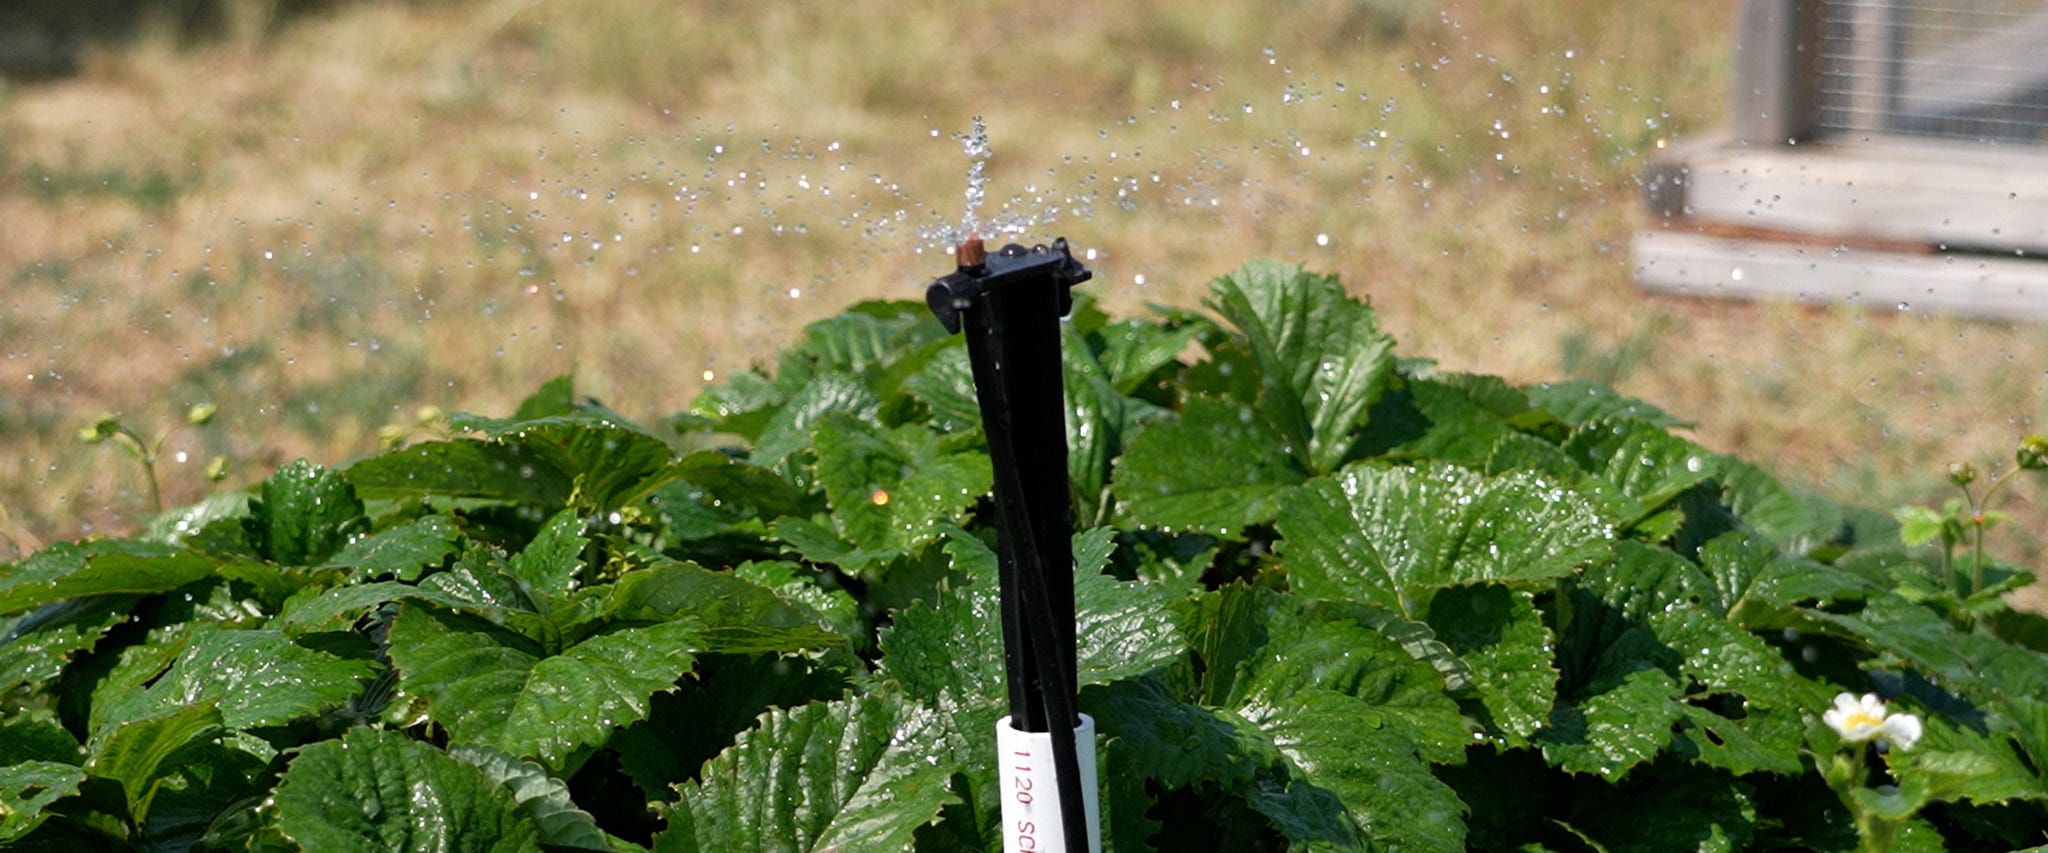
The Orbit Drip System Install Guide
In the west, irrigation is a must. There just isn’t enough natural precipitation for things to grow well. It’s true with the grass in our yards but even more so with our gardens. For those of us that value growing our own food, this often means watering at least once a day, if not more, if you want your garden to produce. At The Fix though, we love to find innovative solutions that save us time and money and effort. Enter Val…
Val is one of our associates with North 40 Outfitters with a green thumb. She’s spent years in our lawn and garden department helping people grow things. We started talking with her about her garden and an opportunity arose for The Fix to do our thing – help Val create an innovative solution to water her garden. Here’s what we ended up creating…
Val had started to build a system with PVC pipe to water her multiple garden beds, but it was never completed. Travis and I saw this as a project where we could combine two irrigation systems – drip tape and a drip system – fed by 3/4" PVC and some1/2” poly tube, and we were able to get everything we needed at North 40.
A note about drip tape
While it’s not a new concept, it’s not often used in homeowner gardens. At one point, one of our stores carried it along with some of its accessories. Val had picked up some of the materials when they were in stock, intending to use it as part of her irrigation solution. We were able to find a few of the leftover accessories that we needed for the project that were super helpful, but the star of this project was the Orbit system.
The Build
We started with two components that we got from the leftover drip tape supply (but you can find similar products with the Orbit supplies): an in-line filter to keep the particulate out of the lines, and a pressure reducer that reduced our pressure to 10 PSI.
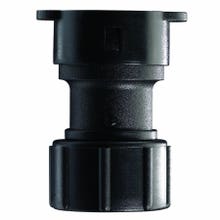
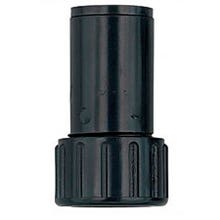
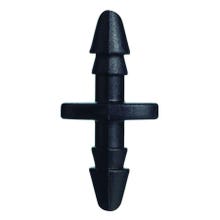
We used ¾” PVC to run both along the edges of Val’s two raised beds and down into each one with ball valves placed strategically so Val had the option to shut off each bed. We taught Val how to measure, cut, and glue PVC together using PVC primer and glue. Once we ran the PVC down into each raised bed, we converted the PVC to poly tubing using threaded adapters from Orbit. We capped the short runs of the poly tube, also with caps from Orbit, and then used barbed adapters to convert the poly tubing to the drip tape. To cap each end of the drip tape, we cut the tape to length and then used a short cut off piece to hold the end of the tape after we folded it on itself a few times.
A few tips on drip tape
-If it leaks a little, that’s ok. You’re not installing this inside your house. An extra few drips of water into the garden isn’t a bad thing
-We used Orbit’s punch tool for the barbed fittings, but the hole wasn’t quite large enough for these drip tape fittings. The tool has a recessed ring on it to keep you from making the hole too big but – we just pressed a bit further passed the ring and made the hole a bit larger and this worked fine. Also, this tool works a lot better on colder poly tubing as the thinner hot black tubing becomes pliable and harder to punch a hole in. So keep your poly tube in the shade or wet it down with cold water.
-Drip tape typically comes in two varieties: 12” and 8” – this means that there is a weep hole in one side of the tape either every 12” or every 8”, so place your plants accordingly.
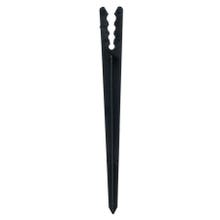
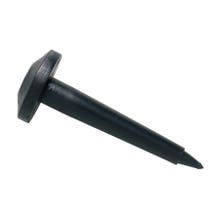
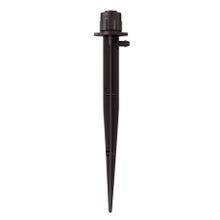
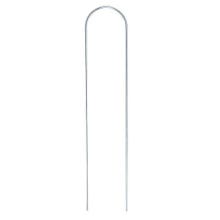
-We ran 4 lengths of the tape in each 4’x8’ bed and used some of the Orbit anchor stakes to hold the tape in place
Back to the build
In between the two raised beds and between the raised bed and the rest of the garden, we dug a shallow trench and buried the PVC to keep it out of the way. IMPORTANT NOTE: this system is not frost proof. We did not bury this deep enough to keep it from freezing – we buried it to keep it out of the way. This system will need to be blown out to get the majority of the moisture out of it at the end of each season to prevent the pipe from cracking. We left Val with a simple air compressor adapter that she can thread onto the front of the system and connect a compressor to blow the system out. The reason we built it this way was to keep costs down and simplicity up. PVC is typically rated for indoor use, but if it’s blown out each year, this will last quite a few years before needing to be replaced.
Once we ran the PVC and drip tape, taking care of the two raised beds, we installed one more ball valve so that Val could choose to shut off irrigation to the main garden and then converted the PVC to poly tubing again and ran it the length of the rest of the garden. We kept this tight to the inside edge both to save length and to hide it a bit. You’re going to come off the poly tube with ¼” hose that’s cheap and plentiful so use that for the rest of your runs to each plant. You don’t have to get the poly tube close to each plant.
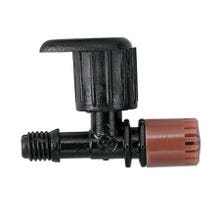
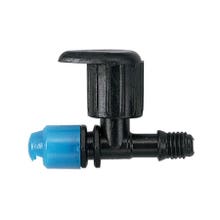
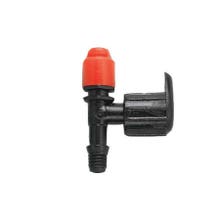
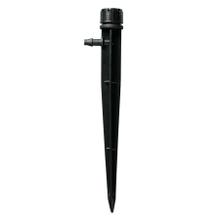
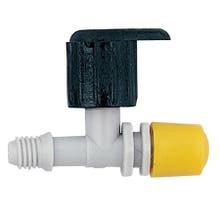
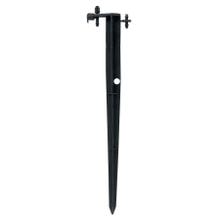
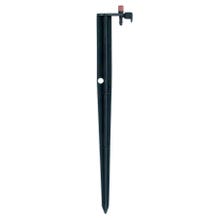
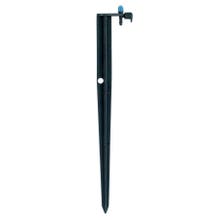
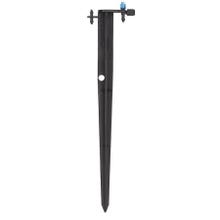
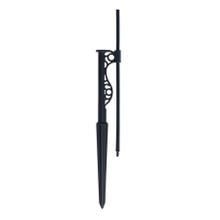
Here’s where the Orbit drip system really makes up time. We used the punch tool to install barbed couplers that the ¼” line fit onto and cut the ¼” hose to length right at the base of each plant or where we wanted to place a sprinkler. To terminate the end of each ¼” line you basically have 3 styles of solutions: a drip tip, a variety of spray pattern sprinklers, or a bubbler. The drip tips don’t just drip – they let a very low-pressure stream of water out and can be directed right at the root of the plant using some clamp stakes for the hose. The spray tips come in 360-degree, 180-degree, and an assortment of other spray patterns. There are striped spray heads (streams instead of spray), and an assortment of braces and risers to get the heads up a bit higher and really customize what you want for each situation. For this project, we used a few spray heads and a bubbler, but we mainly used flagged drip tips, which are named this way because they have a small colored “flag” that can be removed to clean our particulate. These look like shut off valves – but they’re not. There are, however, some Orbit sprinkler tips that do have shut off valves that allow you to adjust the flow. All these sprinkler heads are pretty inexpensive and come in bags of 5-10.
We finished the rest of the garden irrigation with these tips and then capped the end of the poly tube. This is the strength of the Orbit system – ease of installation paired with variety, letting you fully customize your irrigation system to every plant in your garden. This prevents over watering and watering an entire garden bed including the weeds, and you’re now targeting the base of the plant and avoiding the leaves getting wet which can lead to fungal infections.
Conclusion
Overall, we were really impressed with Orbit’s drip system. Once we got through the harder part of running the PVC, the rest was a breeze. And a month later Val couldn’t be happier with the results.
A few pictures from Val's garden a month later
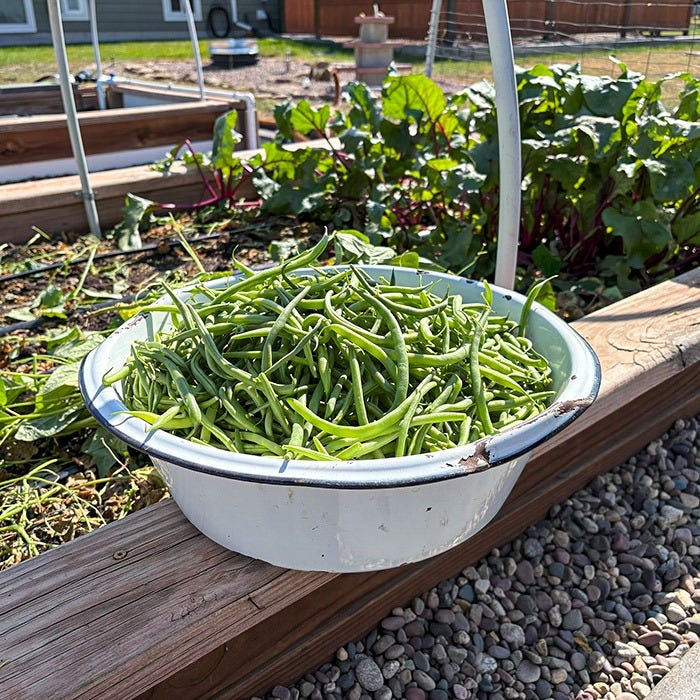
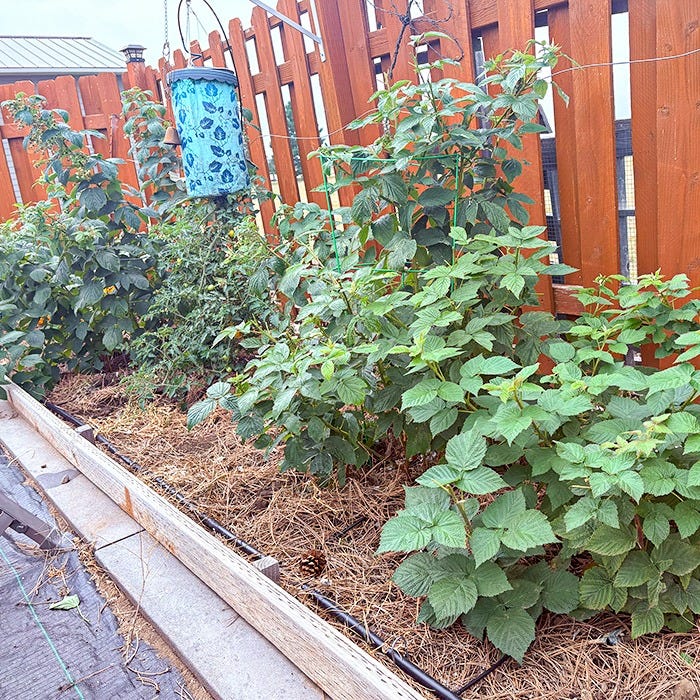
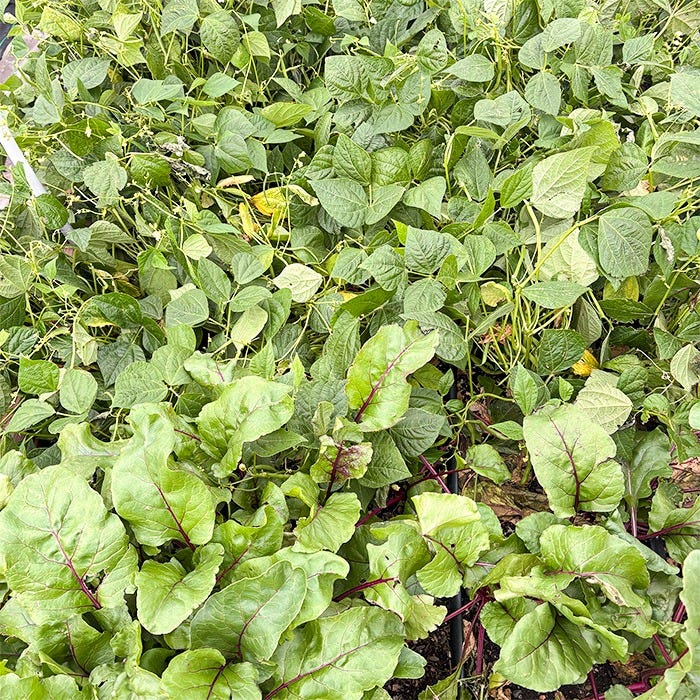
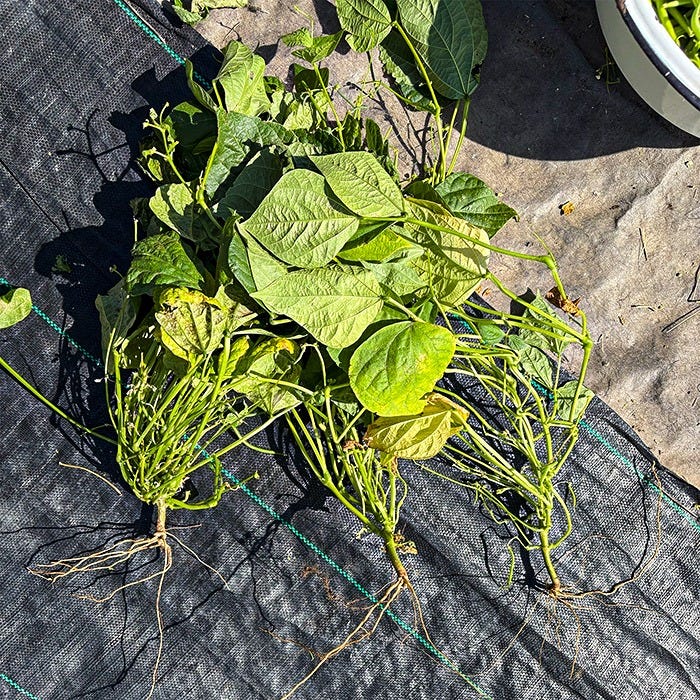
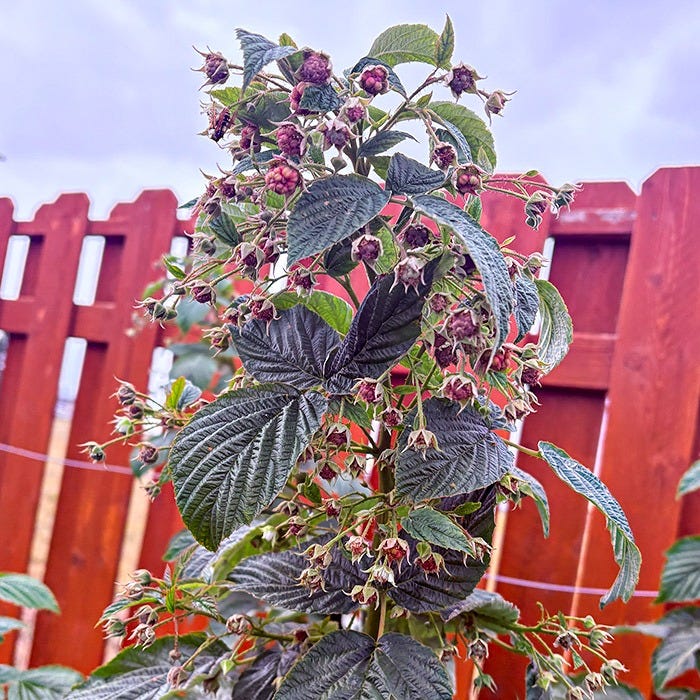
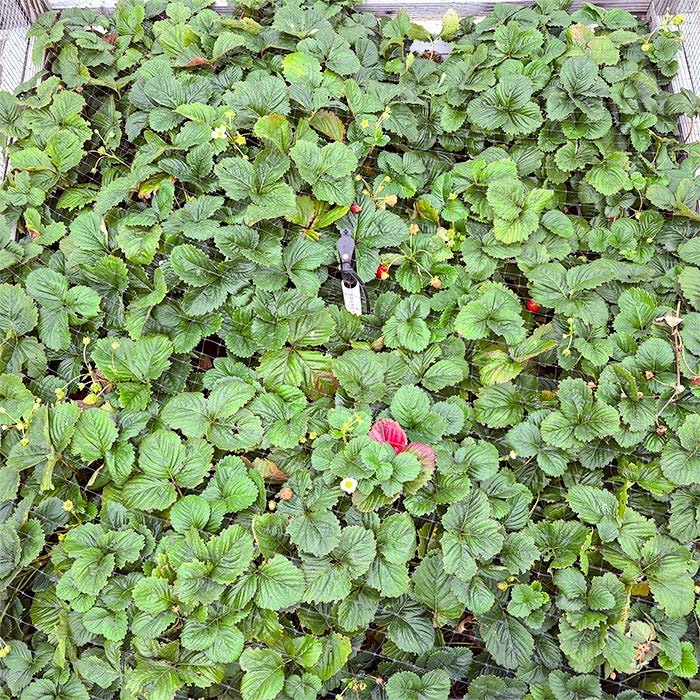
Shop the material and tools we used in this project
Watch More Episodes of The Fix



Tucker brings more than 15 years of hands-on experience in construction and remodeling to the North 40 blog. His background includes interior and exterior carpentry, plumbing, electrical work, drywall, and a wide range of repair and building projects. Years of solving real-world problems on the job have given him a practical perspective on the tools, techniques, and materials that help get work done right.
A dedicated tool user and industry enthusiast, Tucker enjoys following the latest innovations from manufacturers and exploring how new designs can improve efficiency, performance, and results. Whether tackling repairs, building something new, or testing the latest equipment, he’s always looking for smarter ways to work. Tucker has called Montana home since 2014 and has been part of the North 40 Outfitters team since 2025.