How to Process Your Own Wild Game: A Complete Guide to Processing, Packaging & Storing Game Meat
There’s something satisfying about bringing an animal home and knowing exactly where your meat came from. But the hunt doesn't end when the animal hits the ground – really, that’s when the hard work starts.
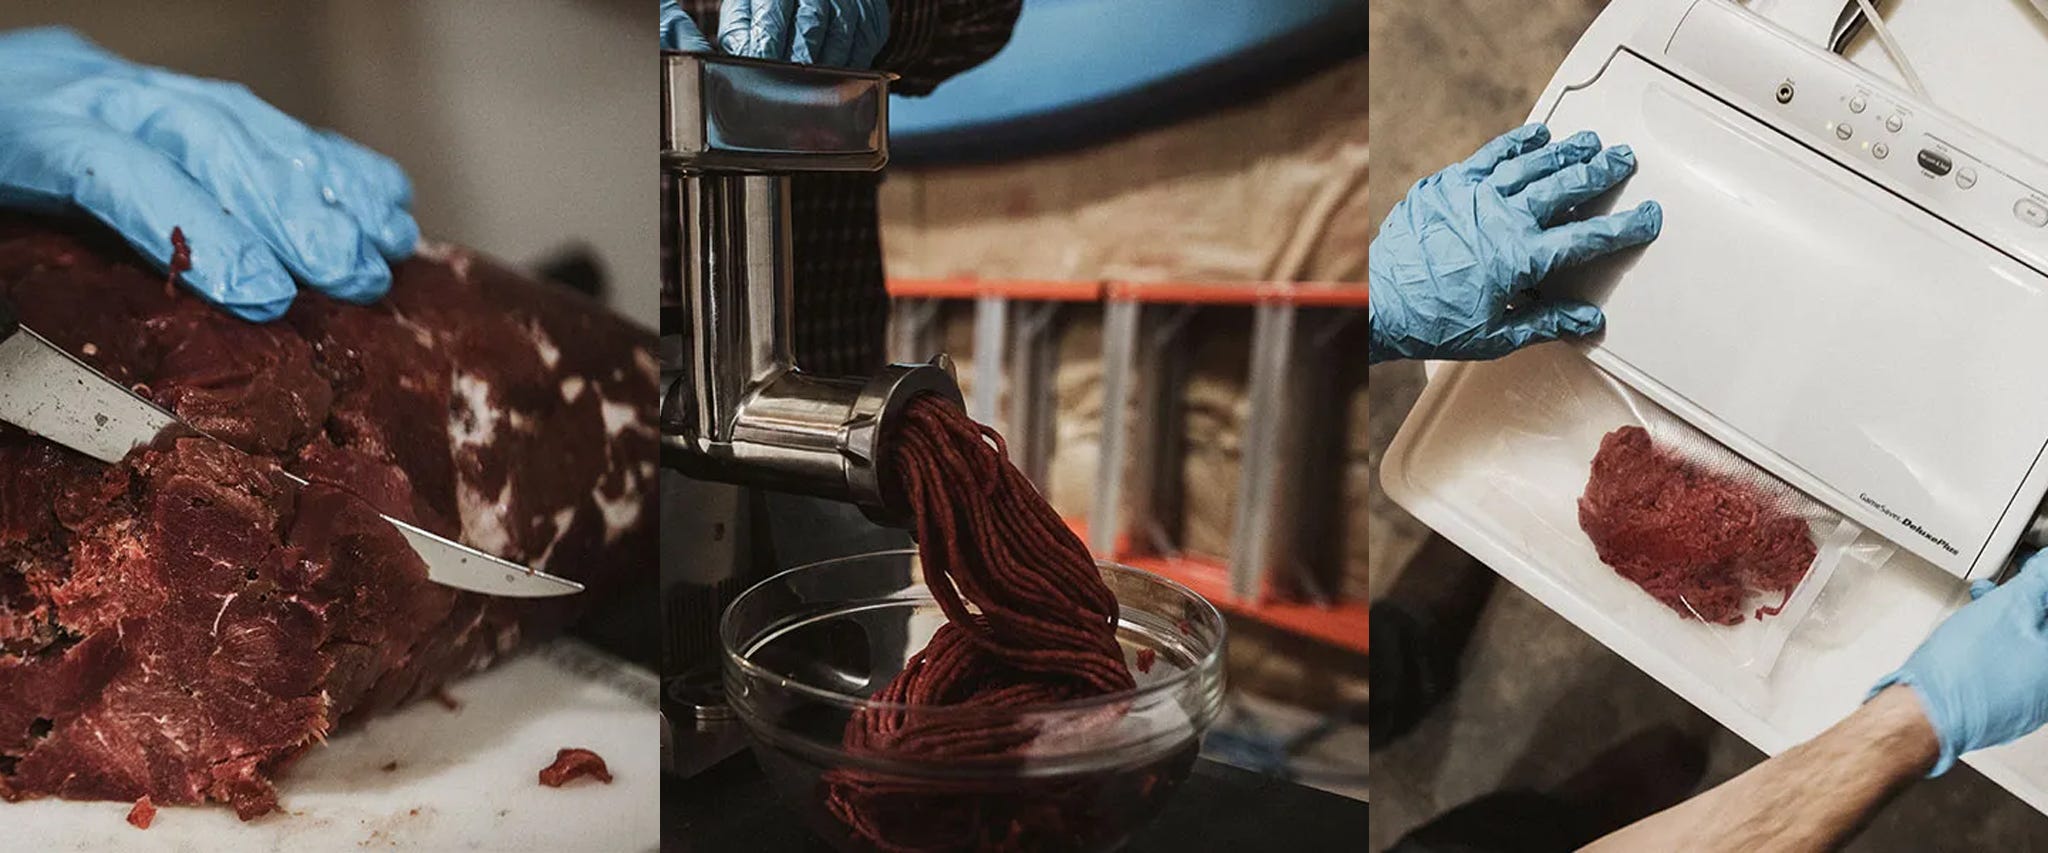
There’s something satisfying about bringing an animal home and knowing exactly where your meat came from. But the hunt doesn't end when the animal hits the ground – really, that’s when the hard work starts. The final part of the process happens at the cutting table.
Processing your own wild game is one of the best ways to bring your hunt full circle. Instead of dropping your animal off at a butcher and picking up a box of mystery cuts later, you get to decide exactly how that animal is broken down, trimmed, ground, seasoned, packaged, and stored.
You know what went into it because you did the work.
Processing your own deer, elk, antelope, or other wild game can also save money over time, especially if you regularly make your own burger, sausage, summer sausage, jerky, or snack sticks. More importantly, it gives you complete control over the final product, from the amount of fat you add to the size of your portions and how everything gets packaged for the freezer.
It takes a little practice, but you don't need a commercial butcher shop in your garage to get started. With a good work surface, sharp knives, a quality grinder, proper packaging supplies, and a little organization, most hunters can build a capable home game-processing setup.
The goal is simple: clean meat, clean cuts, less waste, and a freezer full of meat you earned.
What Do I Need to Get Started Processing My Own Game?
Processing your own game doesn't require an enormous investment to get started. The basic setup is surprisingly simple.
At minimum, you'll want:
- A clean, durable cutting surface
- A quality boning or processing knife
- A reliable way to sharpen your knives
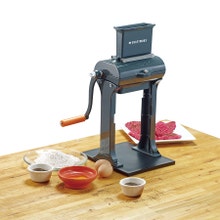
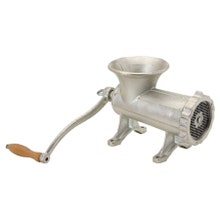
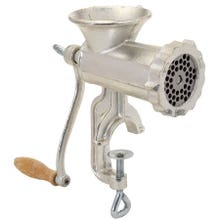
- A meat grinder if you plan to make burger or sausage
- Meat tubs, bowls, or lugs for holding trimmed meat
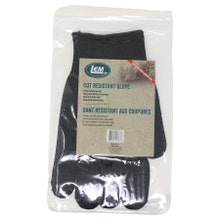
- Disposable gloves
- Cleaning and sanitizing supplies
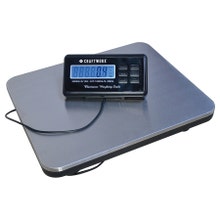
- A scale for portioning meat
- Freezer paper or vacuum-sealing equipment
- Freezer-safe labels and a permanent marker
Your workspace matters just as much as your tools. You want enough room to separate trimmed meat, scraps, finished cuts, and grind-ready meat without everything turning into one giant pile.
A good poly cutting board is a great place to start because it is durable, easy to clean, and forgiving on your knife edge. Give yourself enough room to work comfortably, too. Processing a whole deer or elk can take several hours, and a cramped workspace gets old quickly.
We carry a variety of game-processing equipment and supplies, including knives, grinders, meat tubs, liners, and other accessories designed specifically for home processing.
Keep Your Knives Sharp
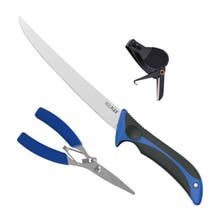
A sharp knife isn't just easier to work with; it gives you more control and makes trimming cleaner and more efficient. For boning and breaking down game, a 6- or 7-inch flexible to semi-flexible knife is an excellent all-around choice. A fixed-blade design is also easier to clean thoroughly than a folding knife.
A good example is the LEM 4 Piece Mundial Hunter's Kit, which includes a 5-inch curved boning knife, paring knife, steak knife, and sharpening steel.
The basic rule is simple: Sharp knife. Controlled cuts. Less wasted meat.
How to Make Game Processing Easier: Tips & Tricks
Once you've processed a few animals, you'll quickly realize that the right setup can make the difference between an enjoyable afternoon at the cutting table and a long, miserable grind.
The trick is to eliminate as much unnecessary movement as possible. Have your knives sharpened. Have your tubs ready. Have your packaging supplies within reach. Keep a garbage container nearby. If you're grinding, have your grinder assembled before you start cutting meat.
Think of it like setting up a hunting camp or loading your truck: do the organization before the work starts.
Get Your Cutting Table to the Right Height
Your back will tell you very quickly whether your processing table is too low.
Ideally, your cutting surface should be around waist height or slightly above. Spending several hours bent over a table is a recipe for back fatigue and sore shoulders.
If you're processing an entire elk or multiple animals, ergonomics become even more important.
A comfortable workstation lets you concentrate on making clean cuts instead of constantly fighting your setup.
Keep Your Meat Cold
Temperature control is one of the biggest keys to producing quality wild game.
Keep meat chilled while you're working and avoid letting large amounts of trimmed meat sit at room temperature for extended periods. Work in manageable batches and return meat to the refrigerator or freezer when necessary.
This becomes especially important when grinding meat. The friction created during grinding can raise the temperature of the meat. Starting with very cold meat and working in smaller batches helps keep the grind clean and consistent.
Keep the Cutting Area Clean
A clean workstation isn't optional when you're processing food.
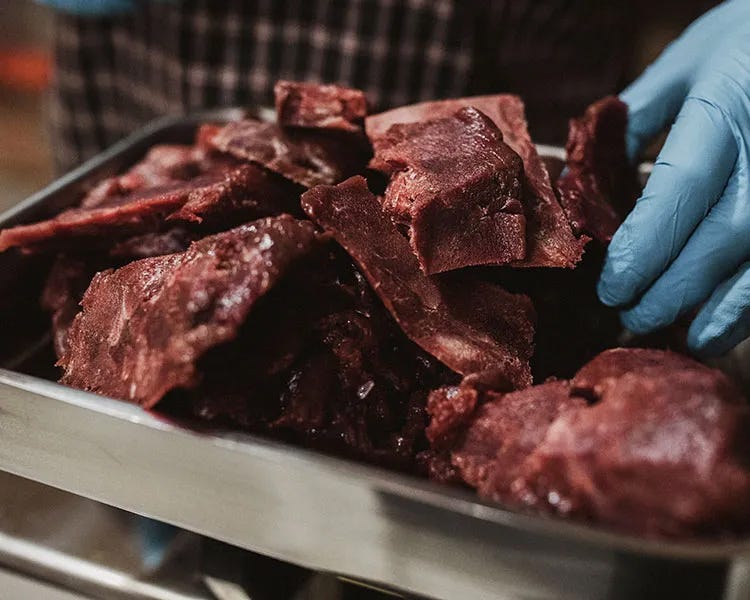
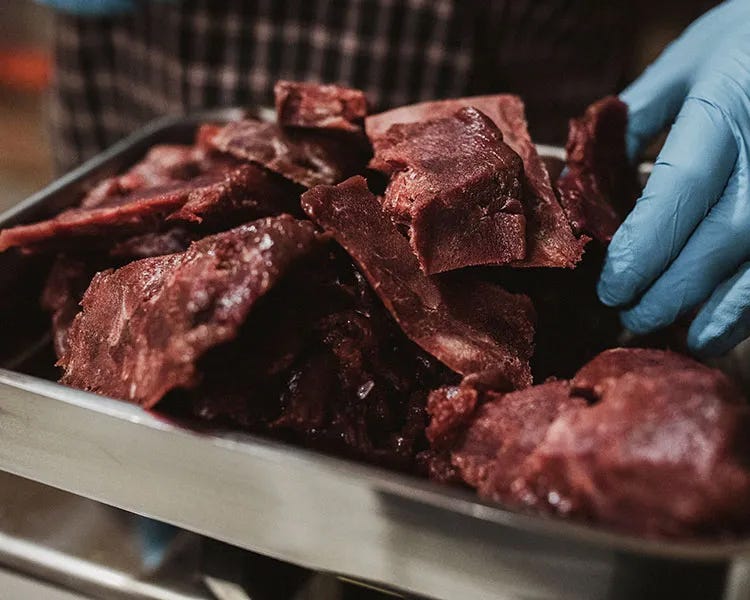
Keep a clean container nearby for finished cuts and another for trim that will eventually be ground. Wipe down your cutting surface regularly and clean your tools as needed throughout the process.
Disposable gloves are another simple upgrade. They keep your hands cleaner, make cleanup easier, and give you another layer between your hands and the meat.
If you're using sanitizing solutions, always follow the product's directions and use food-contact-safe products appropriately.
Don't Forget the Small Stuff
A few inexpensive items can make a surprisingly big difference:
- Meat tubs or lugs
- Disposable meat-lug liners
- Meat bags for ground
- Paper towels
- Disposable gloves
- Freezer labels
- Permanent markers
- Kitchen or processing scale
- Extra trash bags
- Sanitizer
- Apron or processing clothes
Meat-lug liners, for example, are designed to fit meat lugs and can be removed and discarded after processing, making cleanup a lot easier.
Breaking Down Your Wild Game: Trim, Steaks, Roasts & Grind
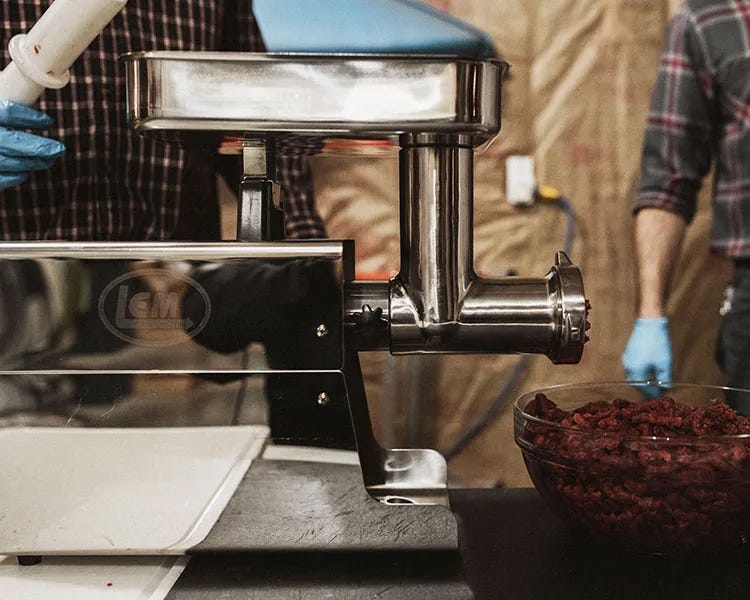
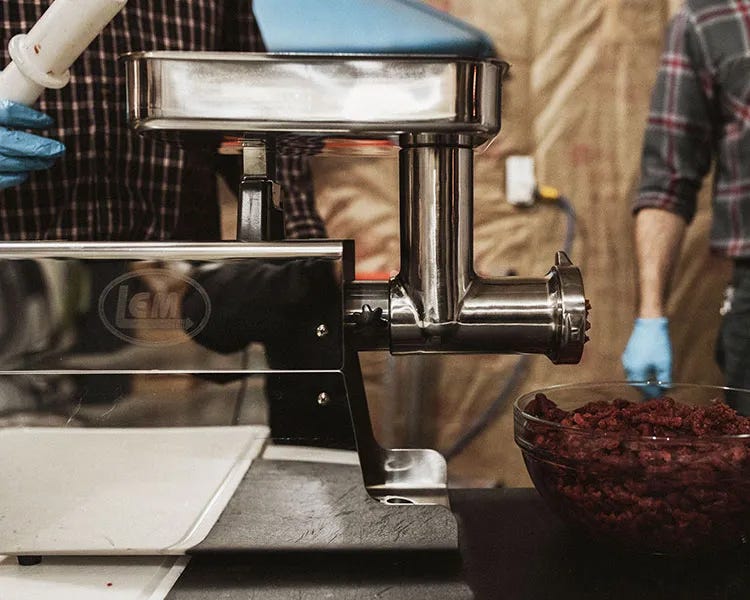
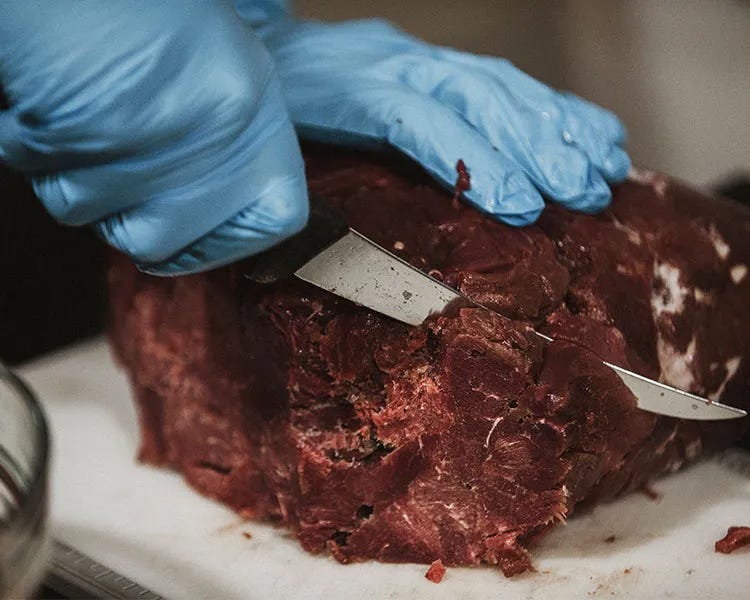
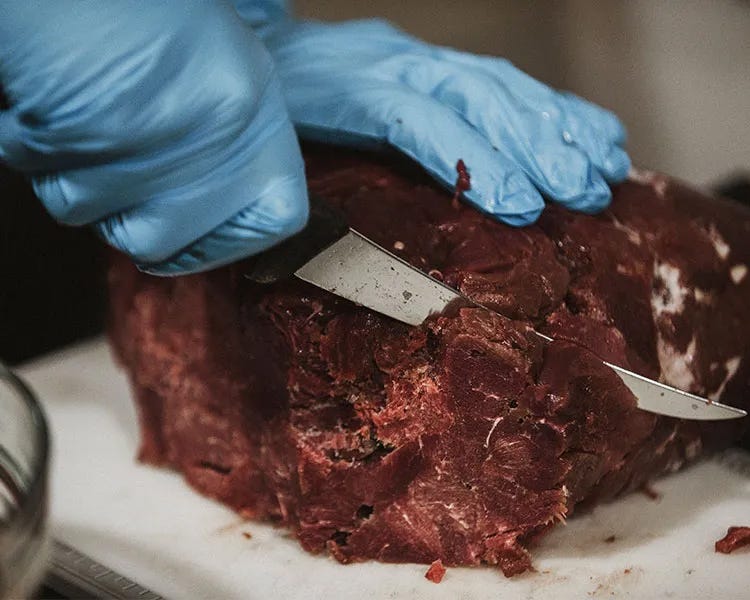
One of the biggest advantages of processing your own game is that you decide what happens to every piece of meat. Instead of automatically grinding everything that doesn't look like a steak, take some time to learn the different muscles and cuts on the animal. Large muscle groups can often be separated into roasts, steaks, chops, or other whole-muscle cuts. Smaller pieces and heavily trimmed sections are excellent candidates for burger, sausage, jerky, or snack sticks.
This is where experience really starts to pay off. The more animals you process, the better you'll become at identifying usable muscle, connective tissue, silver skin, damaged meat, and trim. You'll also learn what cuts your family actually eats.
There is no prize for having the most steaks in the freezer if nobody wants to cook them. Build your freezer around how you actually eat.
If your family crushes tacos, make taco meat. If you're always packing lunches, make snack sticks. If burgers disappear faster than anything else, grind more burger. If you love a good backstrap dinner, protect those premium cuts.
The best processing system is the one that puts the right meat in the right package for the way you cook.
How Much Meat Should I Expect From My Wild Game?
This is one of the most common questions hunters have after harvesting an animal, and there isn't one exact answer.
As a general rule, approximately 40–50% boned-out meat yield after the animal has been field dressed, skinned, and the head removed.
That number can vary significantly depending on the animal, shot placement, size, condition, how aggressively the meat is trimmed, and how carefully the animal is processed.
What Affects Wild Game Meat Yield?
Shot placement:
A clean shot through the vitals generally results in less damaged meat than a shot through a shoulder or ham.
Animal size:
A mature elk will obviously produce considerably more meat than a smaller deer.
How aggressively you trim:
Careful trimming can save a surprising amount of usable meat.
Bone-in vs. boneless:
Boning out the animal changes the final weight and makes the meat easier to portion and package.
Condition of the animal:
Fat reserves, muscle development, age, and overall condition all affect the amount of usable meat.
The 40–50% figure should be viewed as a useful starting point, not a guarantee.
Grinding Wild Game: Burger, Sausage & More
Wild game is naturally lean, which is one of the reasons it makes such excellent protein, but it also means you need to think about fat content when you're making burger or sausage.
How much fat you add is ultimately a matter of preference and what you're making. Some hunters prefer very lean ground venison. Others prefer an 80/20 or 90/10 style blend. Sausage recipes may call for a different ratio altogether.
The important thing is consistency. If you're grinding a large batch, weigh your meat and fat rather than eyeballing everything. That makes it easier to reproduce the recipe the next time you fill the grinder.
Keep Your Meat Cold While Grinding
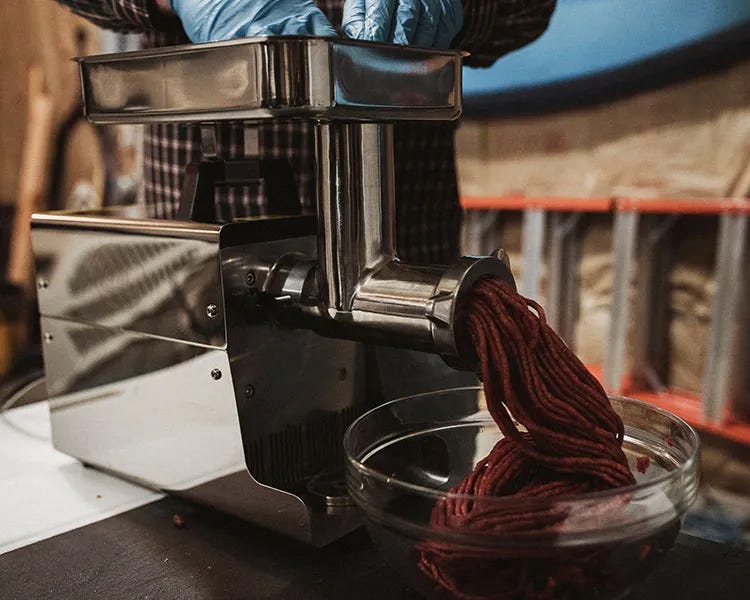
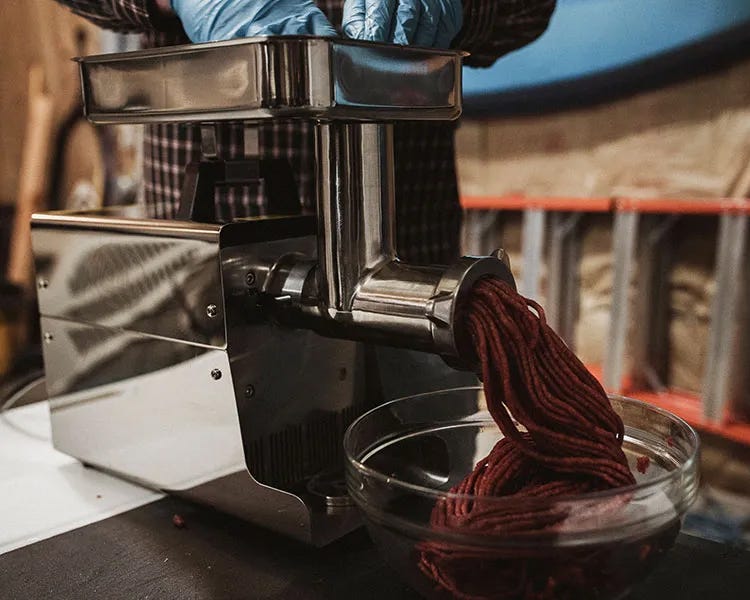
Cold meat is easier to grind cleanly. Cut your meat into grinder-sized chunks and keep it chilled before feeding it through the grinder. If the meat begins getting soft or smeary, stop and get it colder.
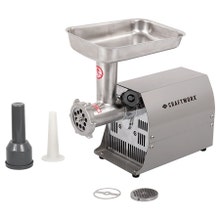
A grinder that is properly matched to the amount of meat you're processing can save serious time. We currently carry several LEM & Craftworx grinder options, including the Craftworx #22 Stainless Steel 1HP Electric Grinder, which is rated at 9 pounds per minute.
For smaller batches, a smaller grinder can make more sense. The right grinder isn't necessarily the biggest one you can afford; it's the one that matches how much meat you're actually going to process.
What Do I Need to Make Summer Sausage and Snack Sticks?
What Do I Need to Make Summer Sausage and Snack Sticks?
Once you've got the grinder, you've got a lot more options than just burger.
With the right equipment and recipes, you can make:
- Ground wild game
- Breakfast sausage
- Bulk sausage
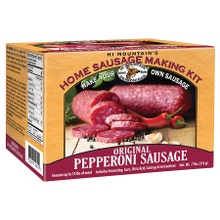
- Summer sausage
- Snack sticks
- Bratwurst and other links
- Jerky
- Seasoned specialty blends
A grinder can handle the initial grinding and, depending on the model and attachments, can also help with stuffing.
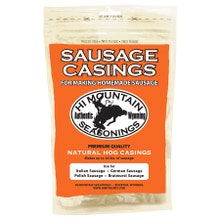
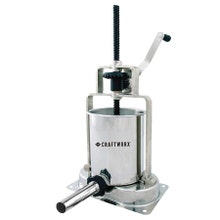
For serious sausage production, a dedicated vertical stuffer can make the process easier and more consistent. But for someone just getting started, a capable grinder and the right accessories can get you surprisingly far.
Don't Be Afraid to Experiment
One of the best parts about processing your own wild game is that you aren't locked into whatever recipe the local butcher uses. Try different seasoning blends. Change your fat ratio. Make smaller batches. Keep track of what you liked.
Just remember that recipes for cured products such as certain summer sausages and jerky should be followed carefully, particularly when curing salts, smoking, cooking temperatures, or specific time/temperature combinations are involved.
When in doubt, follow a tested recipe from the seasoning or curing product manufacturer.
How to Package Wild Game for the Freezer: Freezer Paper vs. Vacuum Sealing
You've put in the work. Now don't let a bad package job ruin it. Proper packaging is one of the most important steps in preserving the quality of your wild game. The goal is to protect the meat from air exposure, moisture loss, freezer burn, and damage while making it easy to identify and use later.
There are two common approaches: freezer paper and vacuum sealing.
Freezer Paper
Quality coated freezer paper is a straightforward and inexpensive option, particularly if you plan to use the meat relatively soon.
It works well for burger, steaks, roasts, and other cuts that you know won't spend years buried in the back of the freezer.
The key is a tight wrap with as little exposed air as possible.
Always label packages with the type of meat and the date it was packaged. If you've got multiple animals in the freezer, you may also want to identify the species or animal.
Vacuum Sealing
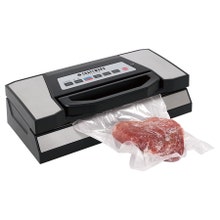
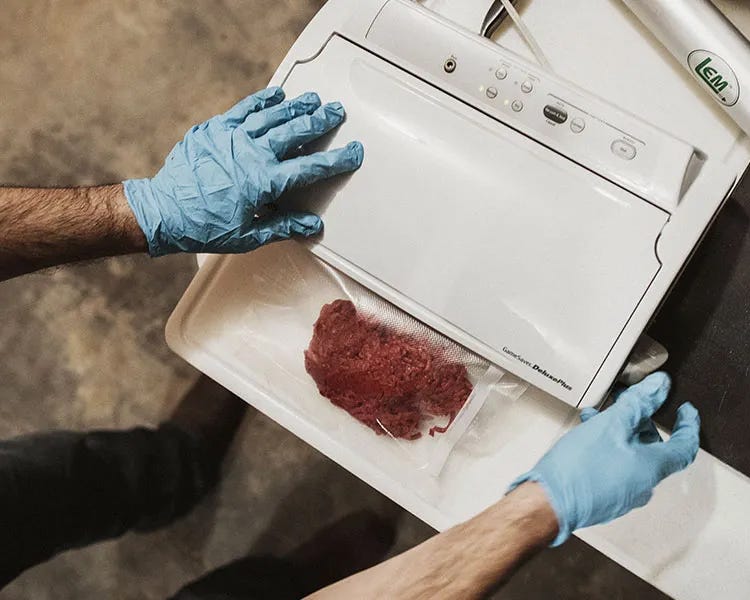
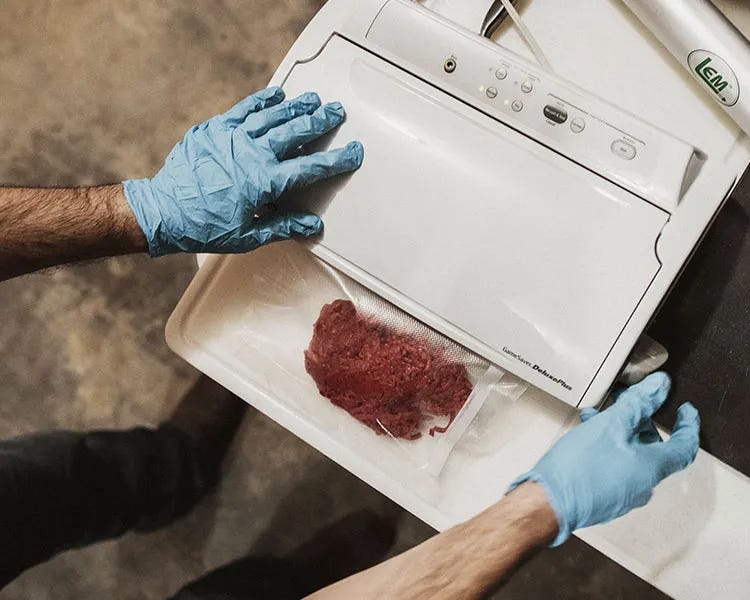
Vacuum sealing is an excellent choice for longer-term freezer storage because it removes most of the air from around the meat and creates a tight package.
It's especially useful for steaks, roasts, backstraps, burger portions, and other cuts you're planning to keep for an extended period.
A quality vacuum sealer also makes it easy to package meat in meal-sized portions. Instead of thawing five pounds of burger when you only need one, package it according to how you'll actually use it.
One important point: vacuum sealing doesn't make meat shelf-stable or eliminate the need for proper refrigeration/freezing. Keep vacuum-sealed wild game frozen and handle it like any other perishable meat.
Label Everything
Future-you will appreciate this. A freezer full of identical packages is great, until you can't remember which ones contain backstrap, burger, stew meat, or sausage.
Label each package with:
- Species
- Cut/type of meat
- Date packaged
- Approximate weight, if useful
- Seasoning or recipe, if applicable
Cleaning & Maintaining Your Meat Processing Equipment
The work isn't finished when the last package hits the freezer. Clean your grinder, knives, cutting boards, tubs, and other equipment thoroughly after every processing session.
Disassemble grinders according to the manufacturer's instructions and clean the components that come into contact with meat. Dry metal components completely before storage to help prevent corrosion.
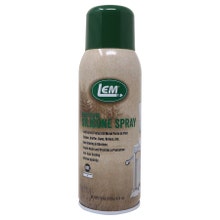
Proper maintenance will also extend the life of your equipment. We carry meat-processing equipment lubricant, which is designed to protect metal components on grinders, stuffers, saws, and knives from rust and corrosion. It is recommended to use it after cleaning equipment before storage and on grinder plates and knives to help prevent dry starts and minimize wear.
A little maintenance now is a lot cheaper than replacing equipment later.
A Few Final Wild Game Processing Tips
Keep it cold.
Cold meat is easier to trim, grind, and package properly.
Keep your knives sharp.
A dull knife makes every part of the job harder.
Don't rush the trimming process.
Taking your time can mean more usable meat and better cuts.
Work in batches.
You don't need the entire animal sitting on the cutting table at once.
Keep your workspace organized.
Separate whole-muscle cuts, trim, waste, and grind-ready meat.
Package according to how you eat.
One-pound burger packages might make sense for your family. Maybe two pounds makes more sense. Package steaks and roasts according to actual meals.
Label everything.
Don't trust yourself to remember what's in the freezer six months from now.
Clean as you go.
A clean table is easier to work on and easier to finish with.
Take care of your equipment.
Clean, dry, sharpen, lubricate, and store your gear properly.
Most importantly, don't get discouraged if your first animal doesn't look like it came out of a professional butcher shop, you're learning.
Every animal teaches you something, where to make the next cut, which muscles are worth saving whole, how much fat you prefer in your burger, how much meat your family actually eats, and which tools make the job easier.
That's all apart of it.
Bring the Hunt Full Circle
There are a lot of reasons to hunt, but putting wild game in the freezer is one of the most rewarding parts. Processing your own meat gives you another connection to the animal and to the work that went into filling your freezer. You're not just taking an animal to the butcher and picking up a box a few weeks later. You're making decisions at every step.
You decide how it gets trimmed. You decide what gets ground. You decide how much fat goes into the burger. You decide how the sausage is seasoned. You decide how everything gets packaged.
And when you finally pull a package of your own wild game out of the freezer months later, you know exactly where it came from. That's the payoff.
-
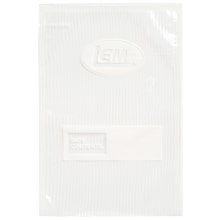 LEM MaxVac Vacuum Bag$0.00 $22.99