
What You Really Need When You’re Starting Meat Birds
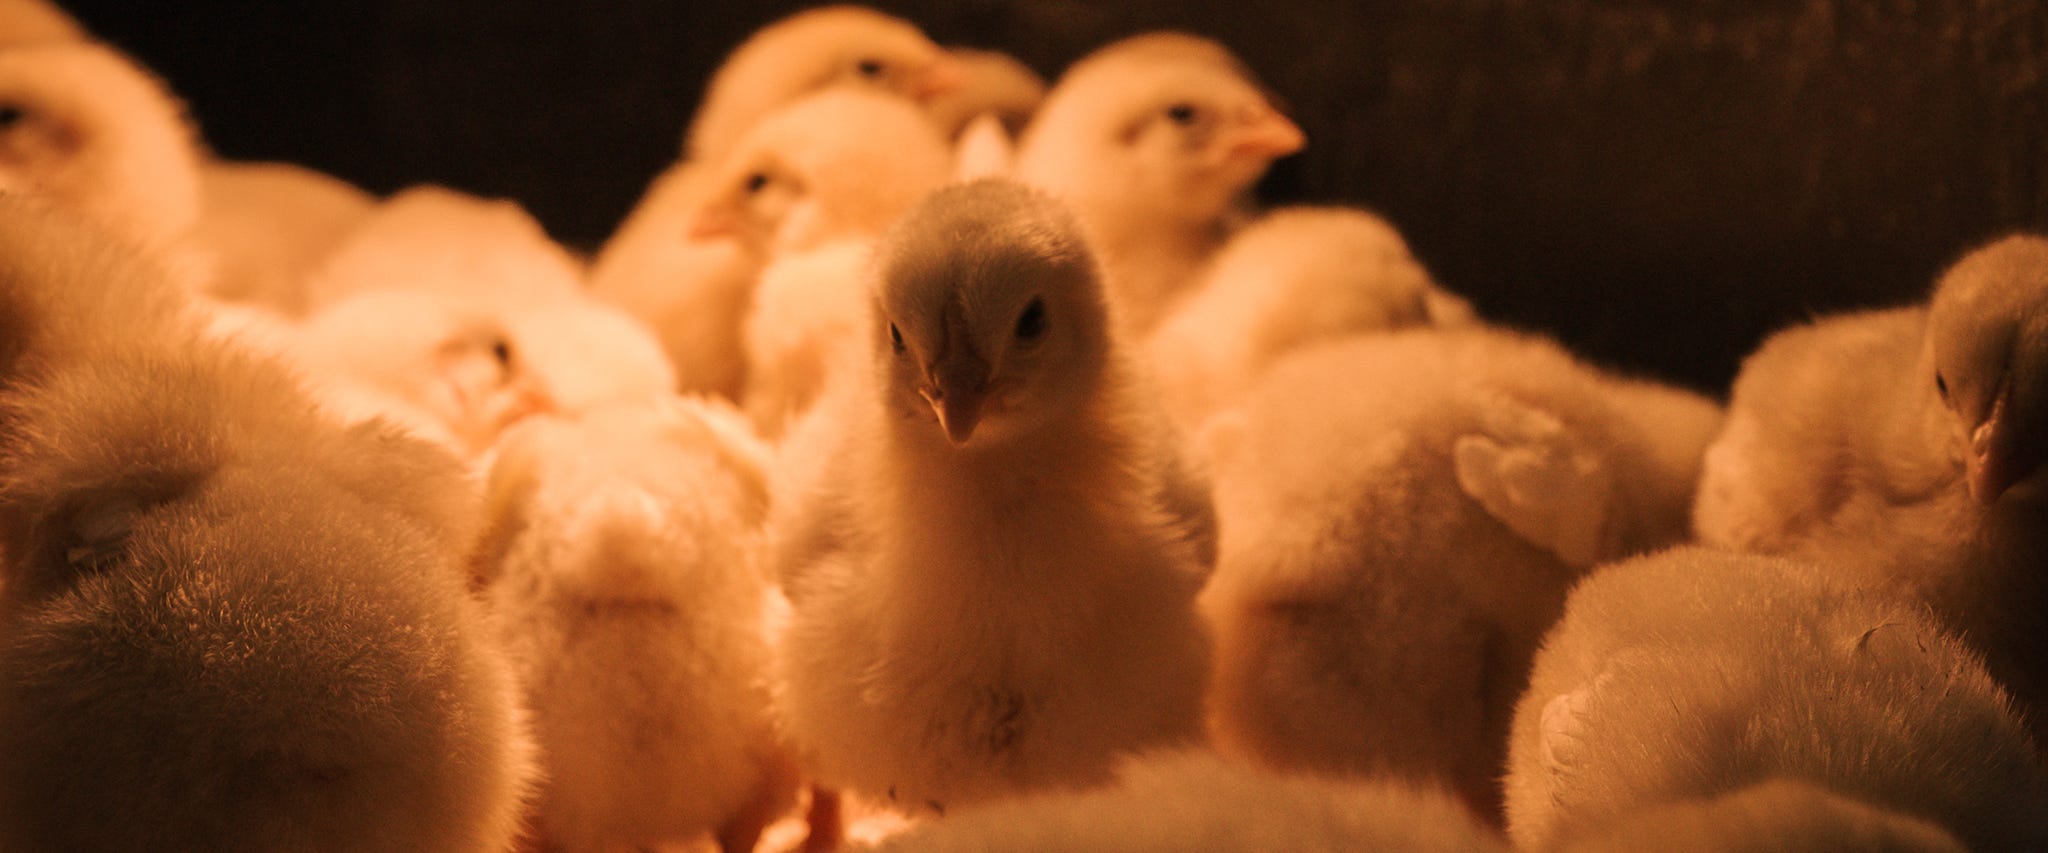
Tanya works in our Wellness Department here at North 40, but most of what she knows about raising meat birds comes from home. She and her husband, Adam, have been building their homestead for years, and starting chicks off right has always been a big part of that. Knowing where her food comes from matters to her, and she’s learned what gear actually makes those first few weeks easier. Here’s what she recommends when you’re getting started with meat birds.
Where to Begin With Meat Birds
When you’re starting with meat birds, the most important thing is food. Before you even think about feeders or waterers, you want to make sure you’re picking a starter feed with a good protein level. Something in the 18 to 19 percent range gives those chicks what they need to grow strong right from the beginning, and brands like Country Companion make that easy with a solid, dependable starter that supports early growth.
Choosing a Feeder That Works
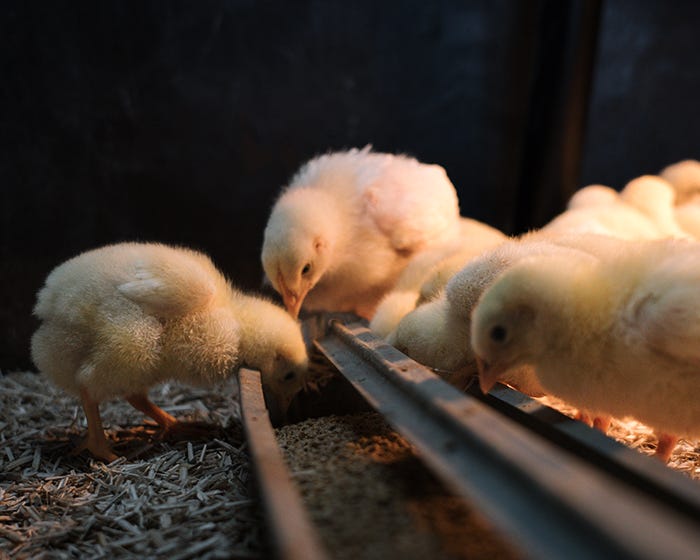
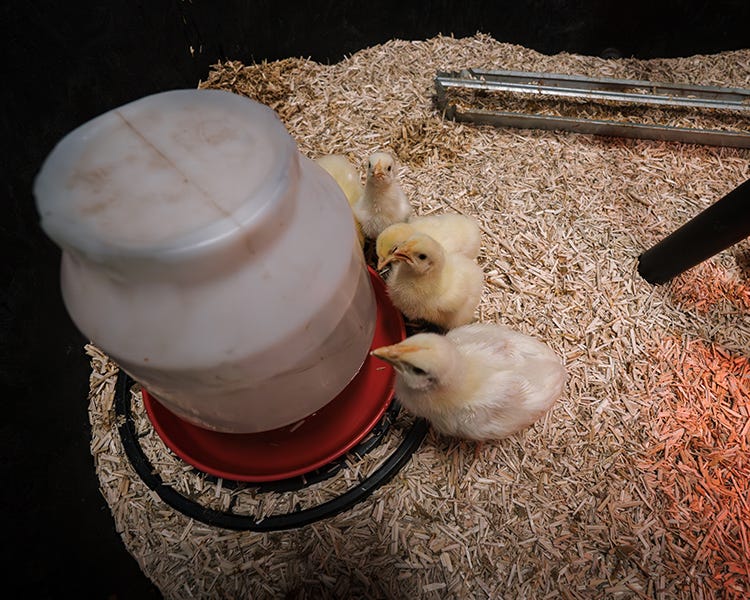
Once you’ve got the right feed, then you can think about how you’re going to get it in front of them. For feeders, I like the short ones to start out with. They’re low enough that chicks can reach them, and they’re simple. The newer styles with the built-in stand legs are really nice too. You can start week one with it low so the chicks can get in there, and it has that bar on top so nobody roosts on it or climbs in and tries to live in it. After about two weeks, you can raise it up so they’re not kicking all their bedding into it, because chickens kick bedding into everything.
Waterers for the First Few Weeks
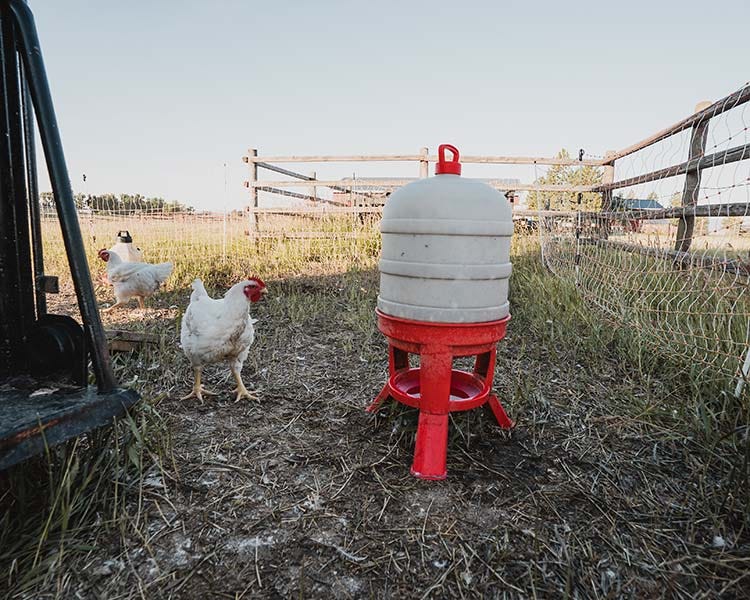
For water, the small chick waterers work great in the beginning. They’re low to the ground, easy for the chicks to reach, and they hold enough water to get you through a good stretch. Once the chicks get a little bigger, we move up to a seven-gallon water bin. It sits high enough that they’re not kicking rocks and bedding into it, and it’ll last them a full day without constant refilling.
Heat Sources That Keep Chicks Safe
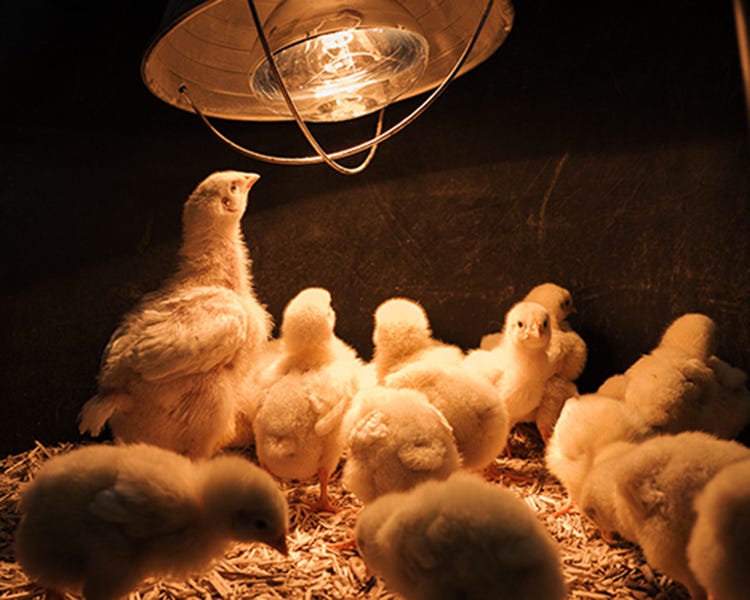
You’re also going to need heat. Little chicks get cold fast, and they can die without a heat source. Heat lamps with guards are the simplest setup. Just make sure the guard is on after the bulb goes in. We use 250 watt bulbs because they’ve got a little more behind them, but 125s work too, depending on your setup and location.
Bedding That Holds Up
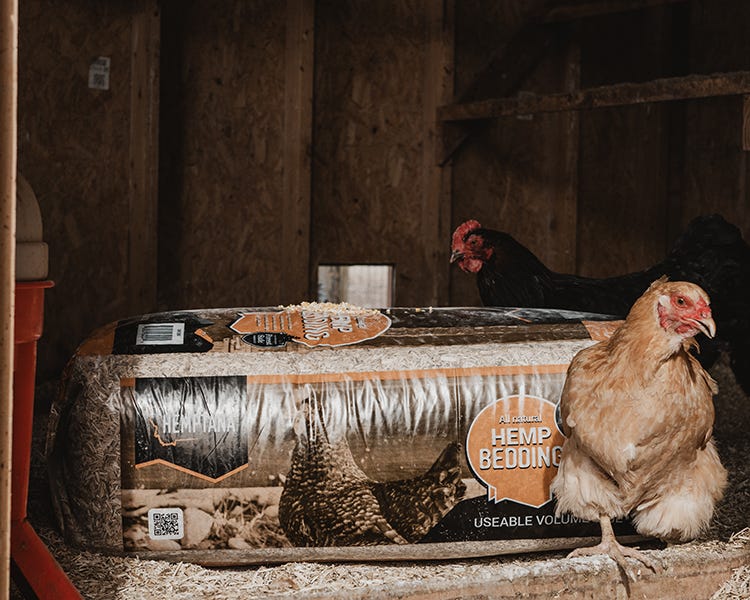
For bedding, you’ve got options: pellet bedding, hemp bedding, shavings, compacted straw. I personally use hemp bedding. It’s more absorbent, it smells better, it holds up better, and it doesn’t stick to the floor of anything. That’s my go‑to.
Picking a Brooder That Lasts
Now for the brooder itself. When your chicks are still tiny, you want something sturdy. The foldable, collapsible brooders don’t hold up for me, mostly because we tend to have a lot of chicks at once and those setups just can’t handle that kind of capacity. Stock tanks work great. They’re solid, easy to clean, and when you’re done with them you can use them for horses, goats, an ice bath, whatever you want. They’re not single-use.
Summary
Starting meat birds doesn’t have to be complicated. Pick a good starter feed with the right protein level, use a feeder and waterer that chicks can reach without making a mess, give them a reliable heat source, and choose bedding that actually holds up. A sturdy brooder like a stock tank keeps everything contained and easy to clean. Once you’ve got those basics in place, the rest of raising meat birds goes a whole lot smoother. Keep them warm, keep them fed, keep them watered, and you’re off to a solid start.