
Page 14 - Home & Garden
-
 Categories: Farm to TablePosted: June 02, 2017
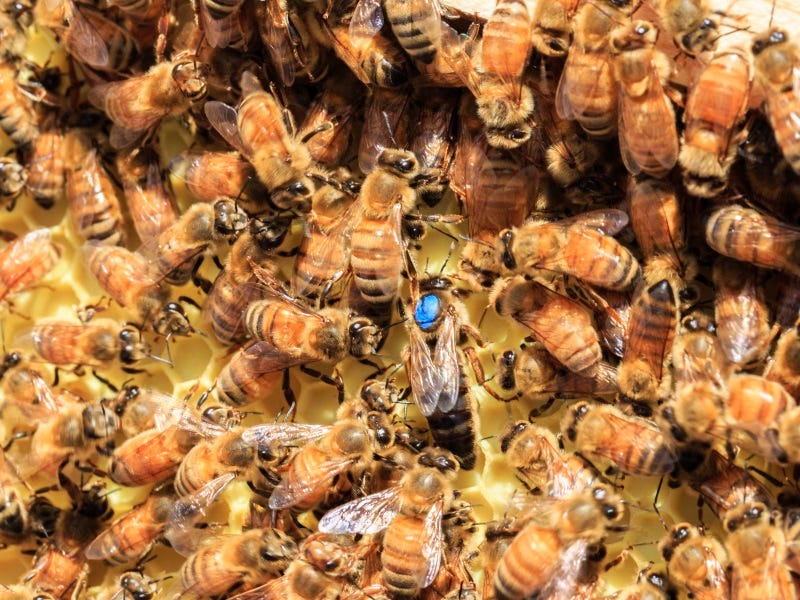
Spring is in the air and soon we'll be surrounded by the wonderful buzz of our most valuable, favorite pollinators; the honey bees! Whether you're just starting out or you're a veteran beekeeper, you'll recognize that knowledge is essential for our toolkit in having successful dealings with our bees. And let's face it, sometimes us beekeepers can be rather, umm, opinionated; so, there's no shortage of suggestions on how to accomplish a certain task in the bee world. After all, it's not surprising to find that this hobby/business can be as complicated as we want to make it with details, facets, factors, circumstances and a whole host of concerns to keep in mind; the more information we have the better in general. We've got a wide range of beekeeping supplies online here. But in the end, it's more important that we just jump in and do ...
Read more about Queen Bee Replacement: How to Requeen your Beehive5 Min -
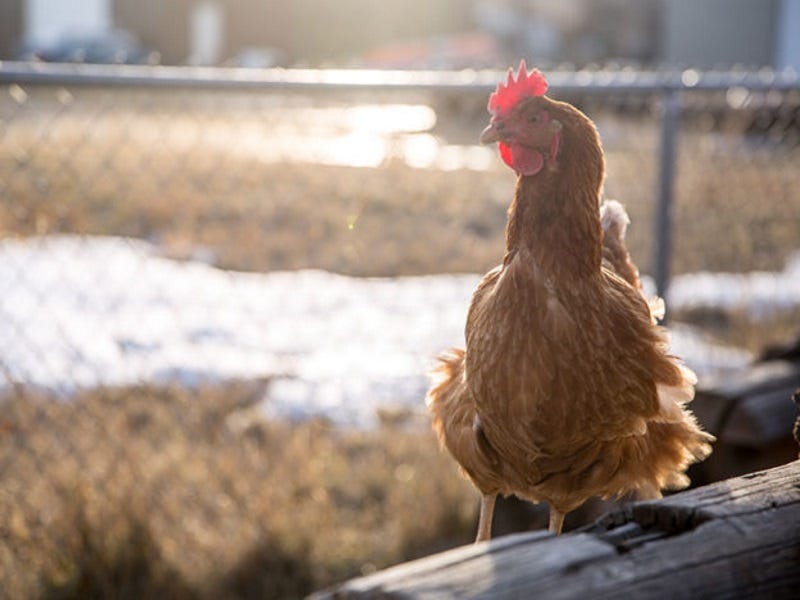
The Cardinal Rule of chicken farming? Don't get more chickens than you can care for! If you buy too many chickens for the amount of time/money/energy/space you have, chances are they are not going to flourish- and could actually get sick, or in some drastic cases, the outcome may be even worse. For example, imagine you don't have the correct watering system, or your waterer is too small for your flock -- or, you live in the Northwest where summers are hot and chickens need water. No matter the manner, without water, chickens, like people, cannot survive. Going too Big, Too Fast Chickens can also get sick if you go too big, too fast. And when that happens, it happens slowly and you might not catch it at first- Imagine your life as a chicken. If there is not enough space for the pursuit of life, liberty and the decent meal worm, you will s...
Read more about How NOT to Chicken Farm5 Min -
 Posted: May 18, 2017Comments: 4From Brood Box to Layers: A Guide to Raising Baby Chickens Read more about From Brood Box to Layers: A Guide to Raising Baby Chickens5 Min
 -
 Categories: Home & GardenPosted: May 02, 2017
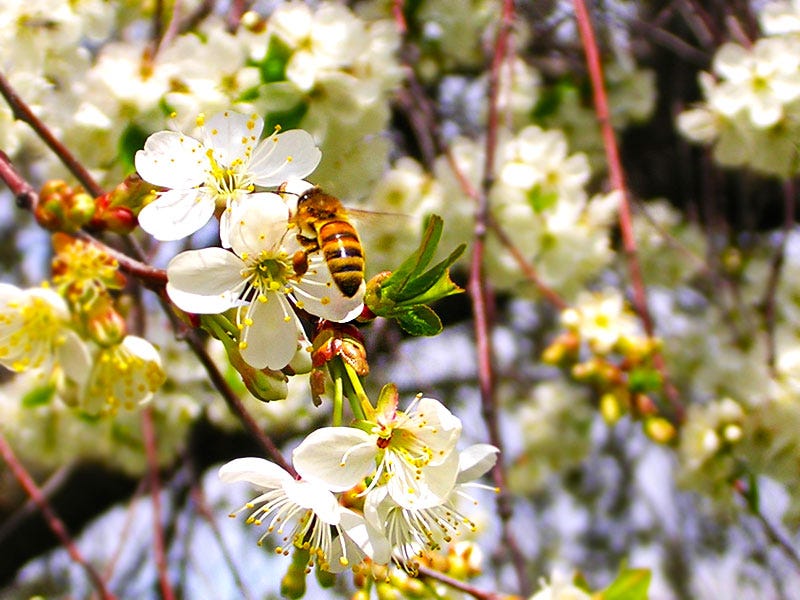
What you do in the springtime for your hives sets the stage for the success of the season. For well over a month, established bees have been out looking for water, pollen and nectar with some days being more productive than others depending on the weather and bloom times. Order pollen paddies online to feed your bees from us here. And while the health of your hives at this time of the year is partly determined by how they were put to bed for the winter, there is a lot you can do now to strengthen colonies or start anew. Assess Winter Hive Losses By now you should know which hives made it, and which didn't. The greater question is "why?" Was there enough honey storage in the hive, and was it accessible to the cluster? Read about our first attempts at beekeeping here and see if you can relate. There are times when you open the hive in the ...
Read more about Spring Tips for Stronger Bee Hives5 Min -
-
 Categories: Home & GardenPosted: April 05, 2017
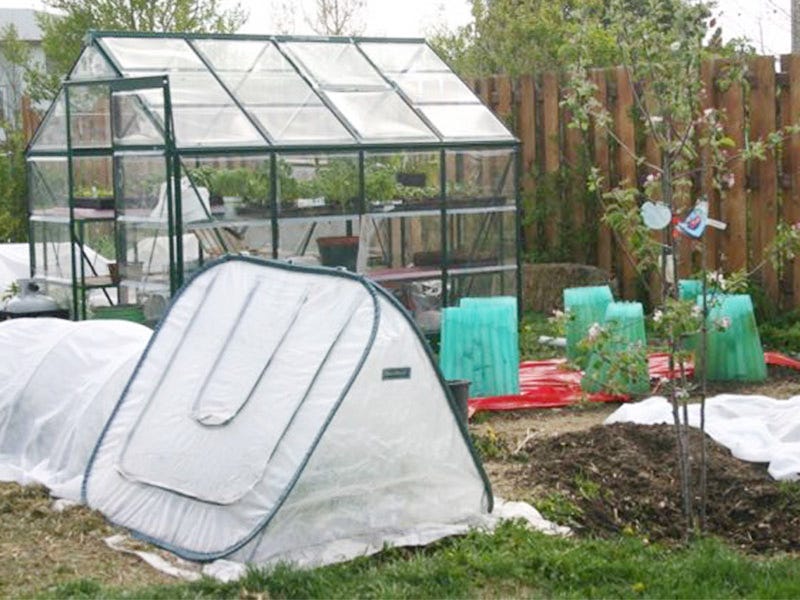
Want to have a longer growing season? Sick of waiting to plant your seeds? Then you've come to the right spot. Read on, and germinate successfully. With a wide array of season extending techniques, the revered "last frost date" is practically irrelevant. Although soil temperature will dictate, at least to some degree, when you can plant certain varieties, the season is much longer even for cold-climate gardeners who simply can't wait to put seeds and plants in the ground when you use these handy tools. And if you need actual garden tools? Then you'll want to see this. No matter what time of the spring, the key to a successful early season garden is warm soil. For instance, greens typically germinate at a minimum temperature range of 35 to 38 degrees F. Theoretically, you could plant in March, but they won't grow until the soil reaches ...
Read more about Top 4 Ways to Extend your Growing Season & Plant TODAY!5 Min -
 Posted: February 23, 2017
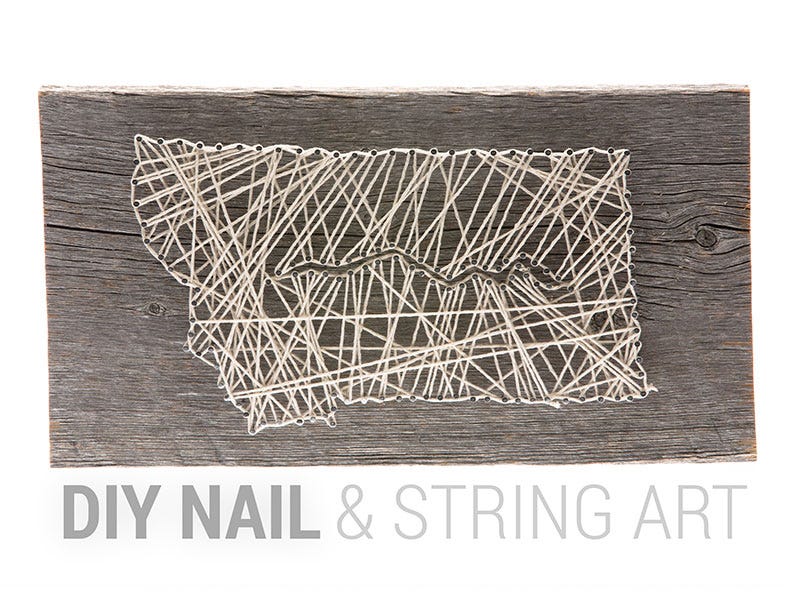
By Tracie Moats One of the most popular craft projects on the Internet right now is string art. And, to be honest, I can easily see why. It's modern, simple and, most importantly, affordable. What's not to love? So, I decided to take a shot at it myself, adding a little bit of North 40 flair into the mix. Materials Needed for DIY Nail & String Art Design String Wire Nails (this project took 2 packs) Hammer Wood Board (I used old barn wood) Paper Template (download mine here) Tape Scissors Need some of these supplies? Check out our craft supplies here Step One: Securely tape your template to your wood board. Begin pounding nails around your template. I have about a .25" space between my nails, but that is totally up to you. You can use more or less spacing depending on the complexity of your template. Try pounding all your nails t...
Read more about DIY: Nail & String Art5 Min -
 Posted: February 16, 2017
N40 Coops 2.0 Video Premiere is going LIVE and you could win. Can't make it to your local North 40 Outfitters to attend the N40 Coops 2.0 Video Premiere? No worries. We will be streaming N40 Coops 2.0 Video Premiere Live on our North 40 Outfitters Facebook page. Watch the Premiere Live and you'll have a chance to win a coop Live. It's true. In addition to giving a coop away at each store, during the Premiere, we will also be giving away one coop online Live. Submit a question online Live, during Mr. Cluck's Live Q & A, and you will be automatically entered into our Live coop giveaway. Here's what you need to know- To watch N40 Coops 2.0 Video Premiere Live and to submit questions online Live CLICK HERE at North 40 Outfitters Facebook page March 9, 2017 6 p.m. Pacific Time. Attending the event in person? We'll give you a 50% off Nu...
Read more about N40 Coops 2.0 Live + Mr. Cluck Q&A5 Min -
 Posted: January 24, 2017
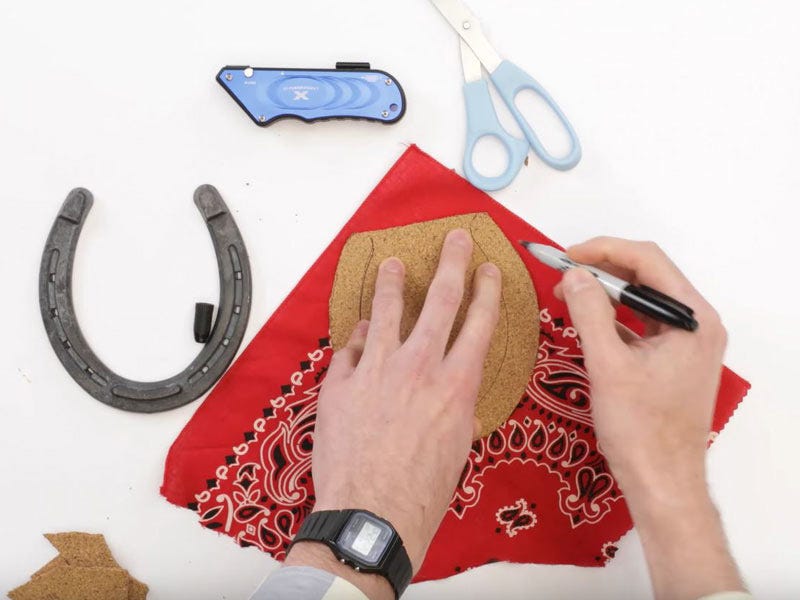
Do you have some cowboy boots that could use a face lift? Well, this project is for you- The DIY Boho Cowboy Boots project allows you to spruce up your favorite pair of boots with your own unique style. Whether its an old pair from the back of the closet or a new pair fresh off the shelf, you can easily design your own fun pair of cowboy boots. Materials Needed for Building your Own Boho Cowboy Boots Cowboy Boots: new or old Belts: New or old Leather punch Rivet Gun Rivets: 1/8" 3mm x ½" 12mm Washers - 1/8" Scissors Utility Knife Cutting board If you have any other ideas to add to your boots, take a look at our craft supplies selection Before You Start: You're going to have to find the right cowboy boots. I definitely recommend using all leather cowboy boots, but you can use ones with softer top like what I used, since all leather is...
Read more about DIY: Boho Cowboy Boots5 Min -
 Posted: January 20, 2017
For N40 Coops 2.0, we asked you to show us your best coops and you answered the call. Courage takes action and you didn't disappoint. In this journey, we learned the stories behind each coop and discovered why every coop is truly special and unique. We met inspiring people and came to understand the bond that comes with owning your own animals. And, we were deeply encouraged by the people who are becoming inspired to learn more about the origins of their food. Don't know what N40 Coops 2.0 is all about? Check this out. Entries came pouring in from all over Montana, Idaho, and Washington (over a hundred plus) -but we could only choose six. The winners have been chosen. They will be revealed at our N40 Coops 2.0 Video Premiere Event and you're invited. Missed last year's N40 Coops winners? Read this. Here's what you need to know- What N40...
Read more about Free N40 Coops 2.0 Event - You're Invited5 Min -
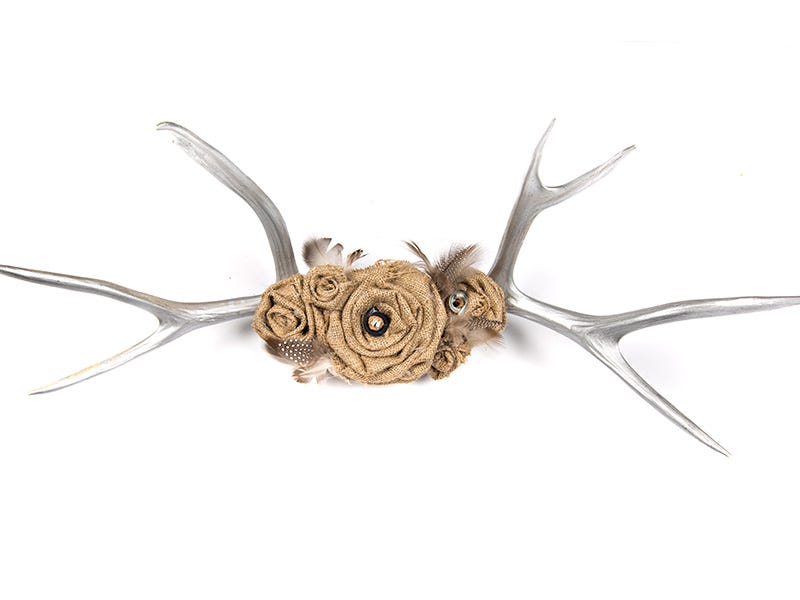
I may not be a hunter, but I do love the natural beauty of antlers. They may be simple, but they have a natural grace to them that attracts the eye, which is why I was hoping to use them in a pet project of mine. My little project has turned into a success, so I decided: what better way to show them off than a DIY Antler Jewelry Hanger. What you will need to DIY your Antler Jewelry Hanger Twine Antlers Scissors Hot Glue Gun Extra Glue Sticks Wire Electrical Tape Spray Paint (Optional) Burlap Optional: Feathers, Beads, Leather Strips, Cork Short on supplies? Pick up the rest at the store or online here Instructions for DIY Antler Hanger Step 1 Spray paint antler and set aside to let dry. Step 2 Create Your Burlap Flowers Start by cutting the burlap into strips. The thicker and longer you cut the strip, the bigger the flower, while t...
Read more about DIY: Antler Jewelry Hanger5 Min -
 Posted: December 07, 2016
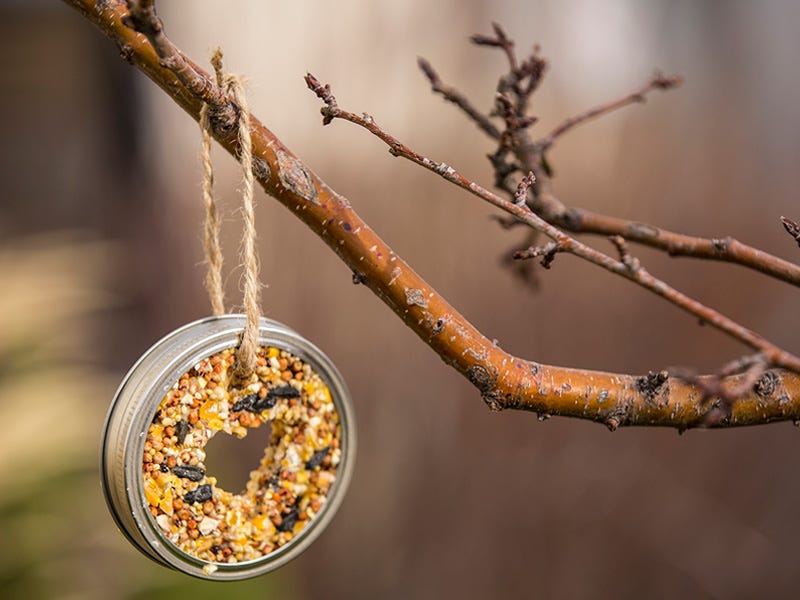
By: Wesley Rowbotham With Christmas right around the corner, decorations are slowly being unboxed and put on display. But for a lot of people, decorating the trees in their yards can be both cumbersome and time consuming. With our DIY Bird Seed Ornaments, you can create easy outside ornaments that will both look great and attract a few extra friends to your holiday celebrations. Curious as to the types of friends you'll find, check them out here What you will need to make your Bird Seed Ornament Mason Jar Lids Wild Bird Food Flour Twine/String Straws Knox Gelatin Karo Syrup Mixing Bowl Measuring Utensils Cookie Sheet Wax Paper Need to stock up on supplies? Check out our craft section here Bird Feed Recipe 3 Cups Wild Bird Seed ½ Cup boiling water 3 tbsp Karo Syrup 1 packet unflavored gelatin ¾ Cup Flour If you need bird seed, you ...
Read more about DIY: Bird Seed Ornaments5 Min