DIY: Nail & String Art
By Tracie Moats
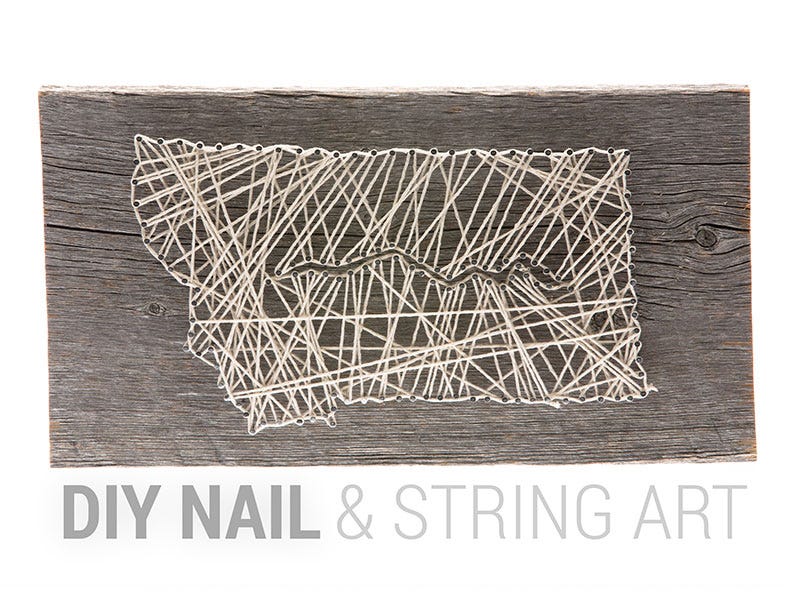
One of the most popular craft projects on the Internet right now is string art. And, to be honest, I can easily see why. It's modern, simple and, most importantly, affordable. What's not to love? So, I decided to take a shot at it myself, adding a little bit of North 40 flair into the mix.

Materials Needed for DIY Nail & String Art Design
Wire Nails (this project took 2 packs)
Wood Board (I used old barn wood)
Paper Template (download mine here)
Need some of these supplies? Check out our craft supplies here

Step One:
Securely tape your template to your wood board. Begin pounding nails around your template. I have about a .25" space between my nails, but that is totally up to you. You can use more or less spacing depending on the complexity of your template. Try pounding all your nails to the same height. Depending on the complexity of your template, you may want to start in the middle and work your way to the outer edges. Once you are done pounding nails, you can lift and toss your template.

Step Two:
Start by tying your string to an outer nail and begin wrapping around all the nails. I found that if you weave around the outer edges of your template, they will make a faint outline and border your art.

I also like the abstractness of not having a perfect planned wrap. Basically, I just went everywhere with no rhyme or reason and I loved the end result. Once you wrapped your final nail, tie off your string and trim.

Step Three:
Display where you can enjoy!

There are a number of fun templates out there or you can simply make your own. Either way, this project is a great way to design something completely unique and your own.
And we'd love to see it. Tag us @north40outfitters (on Pinterest or Instagram) to show off your awesome string art designs.
Want to check out more fun ideas? Take a look at our other DIY Horse Shoe Coasters!