DIY: Boho Cowboy Boots

Do you have some cowboy boots that could use a face lift? Well, this project is for you-
The DIY Boho Cowboy Boots project allows you to spruce up your favorite pair of boots with your own unique style. Whether its an old pair from the back of the closet or a new pair fresh off the shelf, you can easily design your own fun pair of cowboy boots.
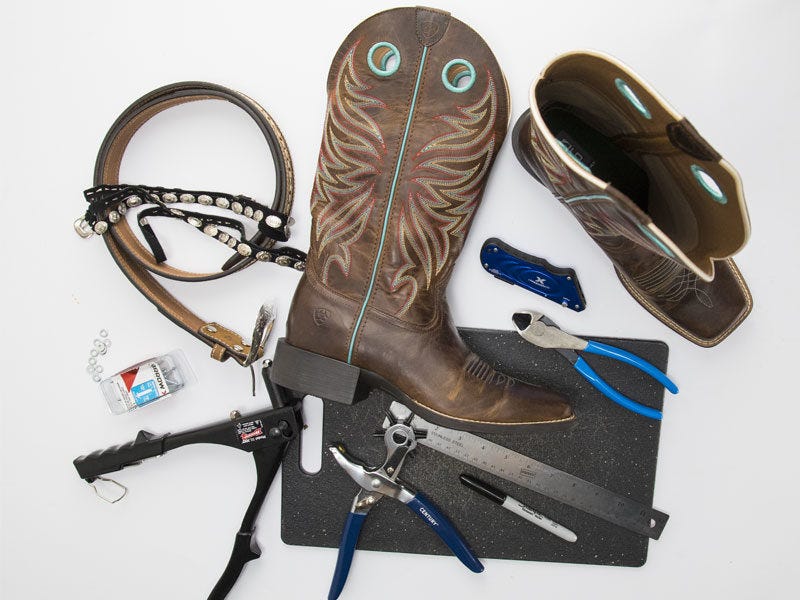
Materials Needed for Building your Own Boho Cowboy Boots
Leather punch
Washers - 1/8"
Cutting board
If you have any other ideas to add to your boots, take a look at our craft supplies selection
Before You Start:
You're going to have to find the right cowboy boots. I definitely recommend using all leather cowboy boots, but you can use ones with softer top like what I used, since all leather is a little stiffer. Another tip is to pay attention to the inside of the boots as that's actually what you're going to see.
Step 1:
Cut your boots down the back with your scissors. Stop at the heel cap.

Step 2:
Fold your boots over. Check to make sure the folds are even on each side. Next, grab yourself a ruler and a sharpie and measure where you would like your slits to go - Mine were 1" in the cut section and 2" down from the top.
The length and width of the slits will vary depending on what belt or belts you would like to use - Mine are about ¼" wide and 2" tall.
Unfold your boots and grab a cutting board and utility knife and start cutting.

Step 3:
Grab your belt and slide it through one of the slots: I prefer to start with the section the buckle is on.
Get your buckle positioned. You'll need to add a hole using the leather punch so the buckle can cinch up tight. Cut any belt excess: leaving enough room so the end can slide back through the slit on the other side. This will allow for a better boot ending.
*Note: Don't cinch them too tight, you still have to be able to get your foot in.

Step 4:
On the other boot, slide the belt through the first slit then loop around through the second. In the back of the boot, overlap the 2 sections of belt. Cut the belt down some so they are easier to overlap and work with.
Next, mark the spot on the belt where you would like them to attach. Take the leather punch and punch a hole in each side of the belt. Make sure to leave about ½" between the belt sections and the boot for the rivet gun and your fingers to fit in there.

Step 5:
Grab your rivet gun, rivets and washers, and put your rivet through both of the belt holes. Next, add the washer on the back: this will help the rivet to not pulling back through the belt.

Next, start pumping the rivet gun. It should take about 5 pumps for the rivet to break off. Once the rivet is broken off, take the lose end and tuck it behind the flap and you're done.

Options for Constructing your DIY Boho Cowboy Boots
If you want to skip the rivet section, you can use 2 different belts and have buckles on each boot. You can also add more belts either by sliding them through the same slits, going over top of the whole boots or adding another slit.
Depending on the boots and decorations, you can design something completely unique and your own. And we'd love to see it. Tag us @north40outfitters (on Pinterest or Instagram) to show off your fun new Boho Cowboy Boots.
Want to check out more fun ideas? Take a look at our other DIY tutorials