DIY: Antler Jewelry Hanger
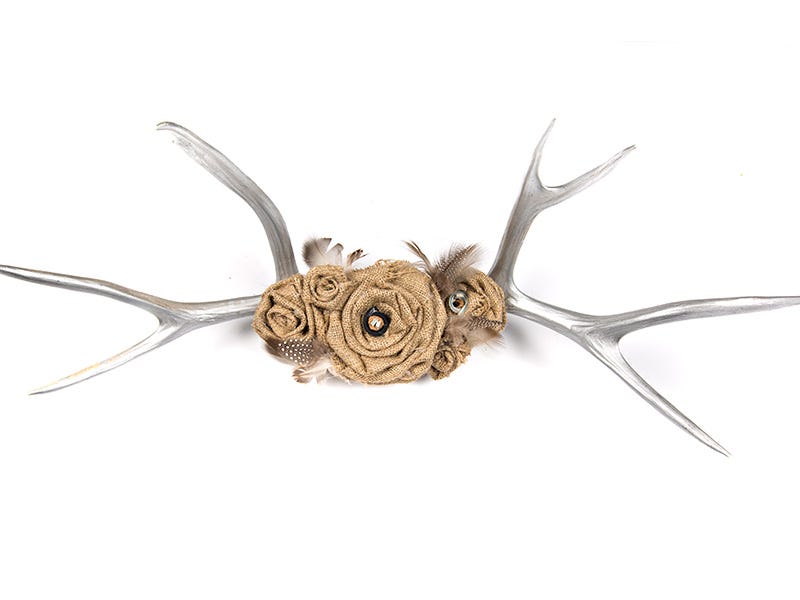
I may not be a hunter, but I do love the natural beauty of antlers. They may be simple, but they have a natural grace to them that attracts the eye, which is why I was hoping to use them in a pet project of mine.
My little project has turned into a success, so I decided: what better way to show them off than a DIY Antler Jewelry Hanger.
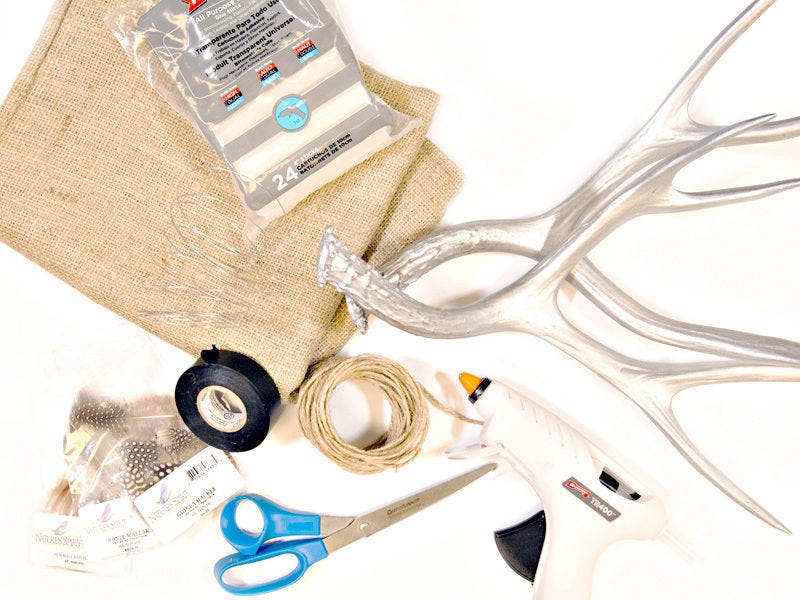
What you will need to DIY your Antler Jewelry Hanger
- Twine
- Antlers
- Scissors
- Hot Glue Gun
- Extra Glue Sticks
- Wire
- Electrical Tape
- Spray Paint (Optional)
- Burlap
Optional:
- Feathers, Beads, Leather Strips, Cork
Short on supplies? Pick up the rest at the store or online here
Instructions for DIY Antler Hanger
Step 1
Spray paint antler and set aside to let dry.
Step 2 Create Your Burlap Flowers
Start by cutting the burlap into strips. The thicker and longer you cut the strip, the bigger the flower, while the thinner and shorter the strip, the smaller the flower. I chose to make a medium flower. Don't forget to plug in your hot glue gun.
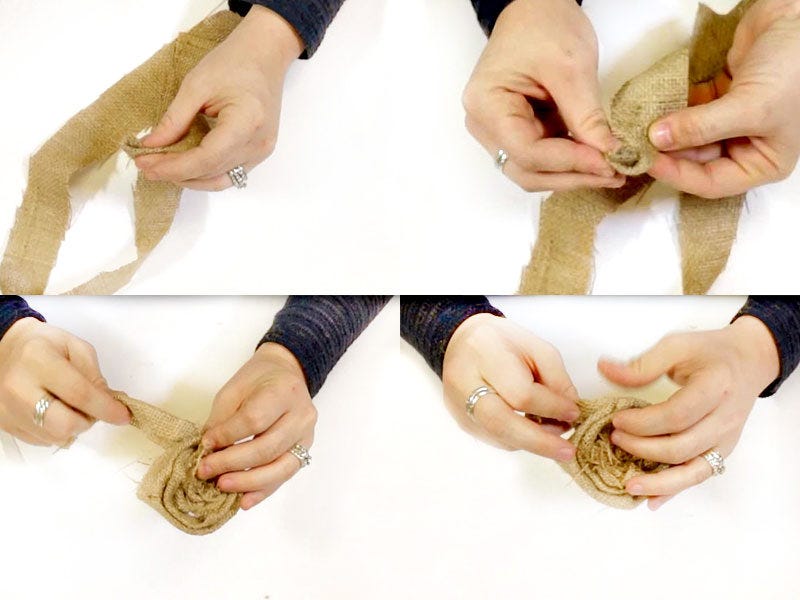
- Fold your burlap strip in half on one side and added a little hot glue.
- Roll the burlap several times to create the center of the burlap rose - I like to glue as I go, but you can also glue at the end.
- After you've rolled it a couple times, start twisting the burlap away from the center to start creating the petals.
- Keep twisting the burlap around and holding in place with your fingers - I like to add a little hot glue during this process.
- Once you feel like your flower looks the way you want it to, clean up any loose edges and glue any areas your feel our out of place.
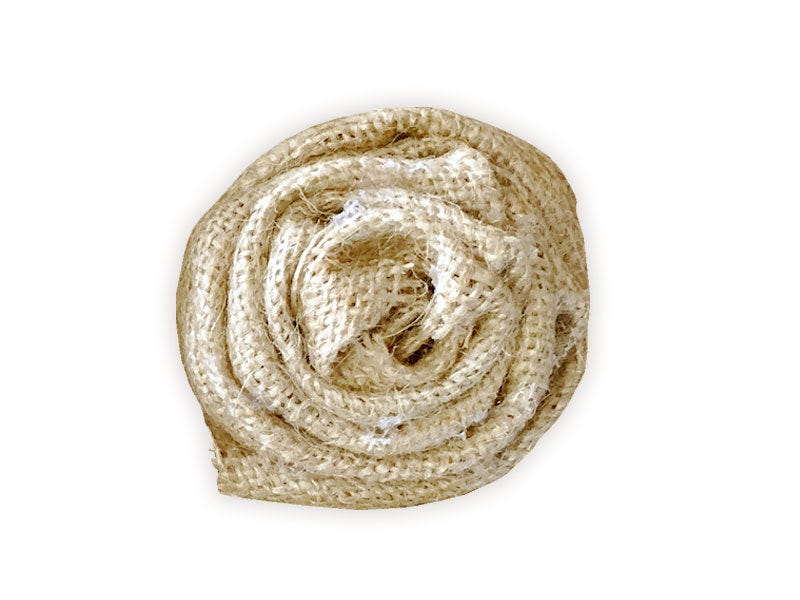
Note* You can add other items to the center of your flowers like leather, beads, cork or buttons to give your flowers a little personality.
Step 3 Attaching the Antlers
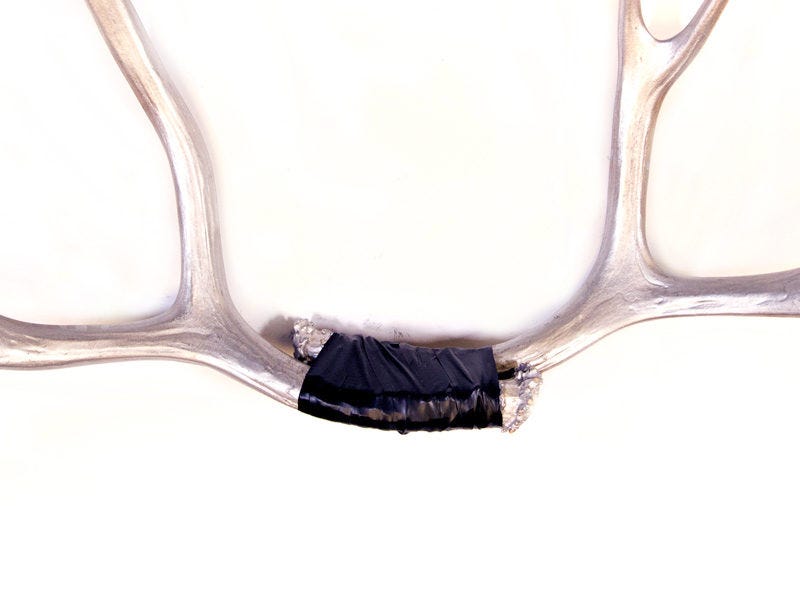
- First of all, place the antlers together in your desired location and wrap as tight as you can: make sure to wrap a few times so its nice and tight.
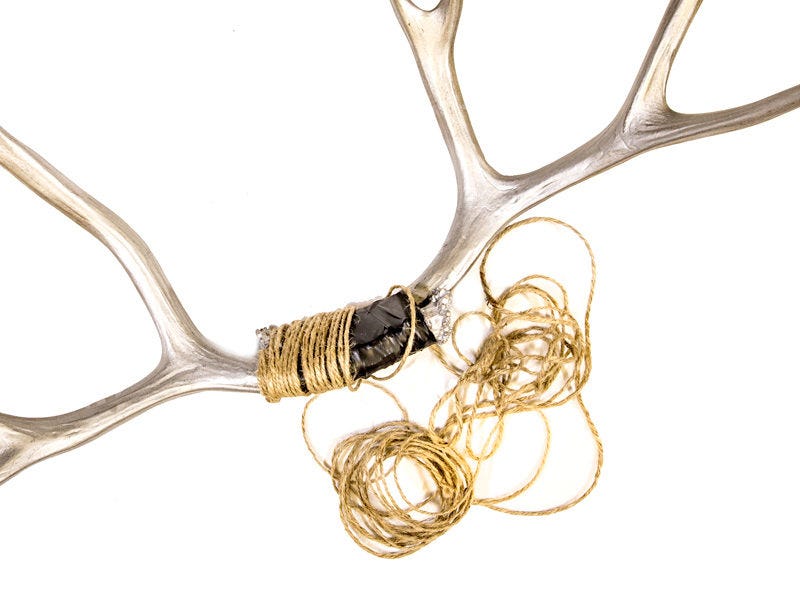
- Once done, I wrapped the electrical tape with some twine to give it a natural look and also to create a good base for the burlap flowers to be attached.
Note* I found it best to just use electrical tape to attach them
Step 4 Wire Hanger
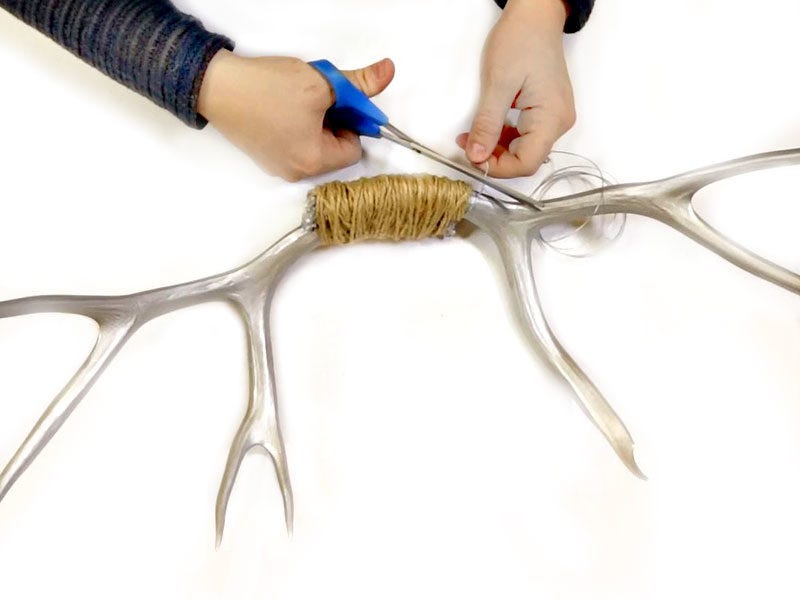
Next, I used some thin wire to create a hanger
- I just wrapped one of the antlers a few times, twisted the end so it was tight and then repeated it on the other size.
- This step may vary based on how your planning on hanging your antlers: you can also use a leather strap or twine and hang higher up on the antlers.
Step 5 Assemble
- First of all, I started by gathering all of my materials.
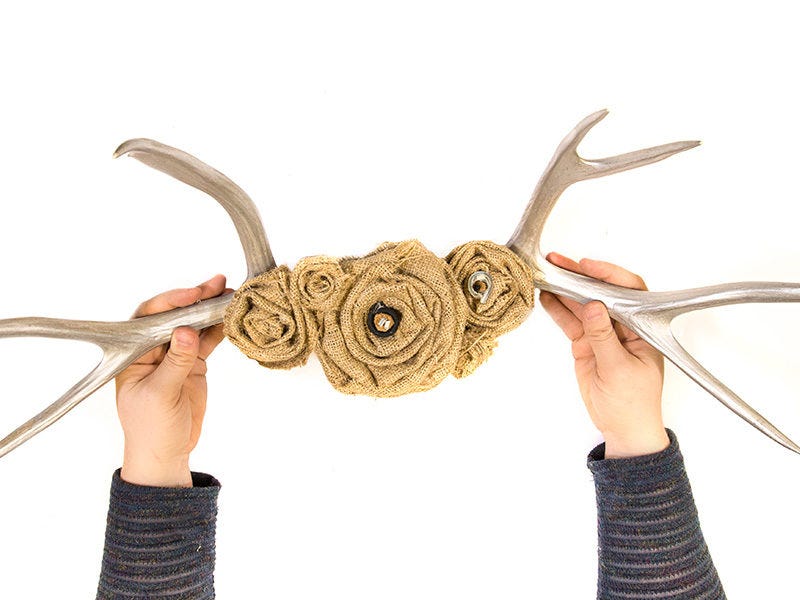
- Once I figured out where I wanted my flowers go, I placed an ample amount of hot glue on the antler and started arranging. I repeated this process for all of my flowers.
Step 6 Optional Decorations
My final set was to stick in a few feathers here and there. Once they were in place, I added just a little bit of hot glue to hold them in place.
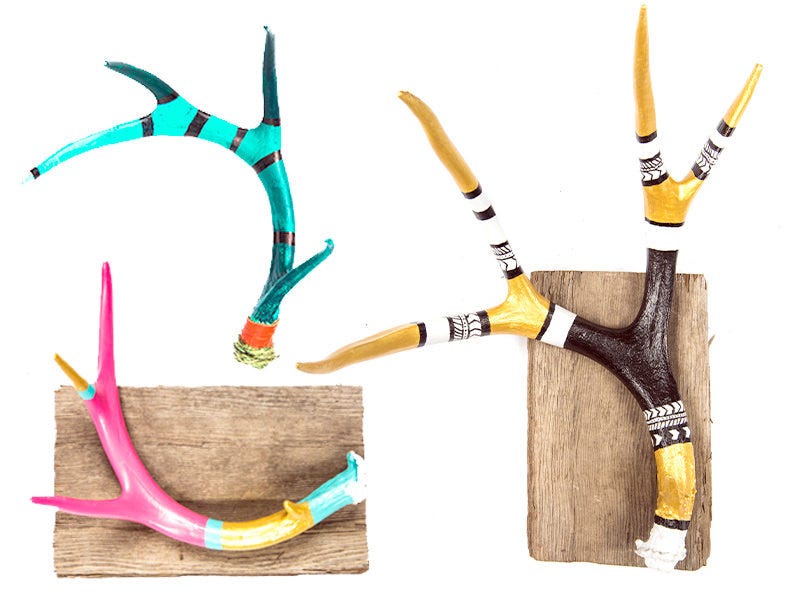
Depending on the antler and decorations, you can design something completely unique and your own. And we'd love to see it. Tag us @north40outfitters (on Pinterest or Instagram) to show off your fun new antler hanger.
Want to check out more fun ideas? Take a look at our other DIY tutorials
