Beginning Canning for Beginning Gardeners: The Water Bath Method

If you're a new gardener, you need a water bath canning strategy, period. "Wait... Why does my new garden need a canning strategy?" Here's why:
Because chances are you can't eat 12 pounds of strawberries, 20 pounds of tomatoes or 17 pounds of cucumbers all before they go bad... if you can (pun intended) then you don't need to eat all of your produce in one go. If you can eat all of your produce at once, disregard this entire post.
For the rest of us mere mortals looking to preserve the longevity of our garden bounty, there is a new thing just invented and perfected by Pinterest--it's called "canning."
No, canning wasn't REALLY invented by Pinterest, but you can find some amazing recipes there. Below we are going to give you some insight into the various things you need to begin water bath canning.
What is Water Bath Canning?
What is "water bath canning," you ask--it's a lower temperature canning procedure used mostly for higher acidic food like fruit and or tomatoes, pickles and relishes, chutneys and vinegar.
Plus, if you're like some people, this method of canning is used to make the perfect "spicy" pickle (click that link to see our special spicy pickle recipe).
So let's get down to the materials you need to can your garden after a summer of managing the water and pests and successfully growing all of your sweet, sweet fare it's time to get serious about canning.
Before we dive into the sport of canning, you'll also need a recipe (check Pinterest).
Understanding what Tools you Need to Start Water Bath Canning
I've been trawling Ball's website now, and while it's not Pinterest (you won't find lawn furniture searching for canning), this is still a great place to start; visit either if you are in need of more recipes (outside the spicy pickle one below), or in case you need more canning inspiration.
Back to my journey into the depths of the canning realm... We stock many, many canning supplies at North 40 Outfitters, but that's not why I went to the store in Great Falls... I went because we have people over there that are canning elitists and, knowing nothing, I thought this would be the best place to start learning about canning.
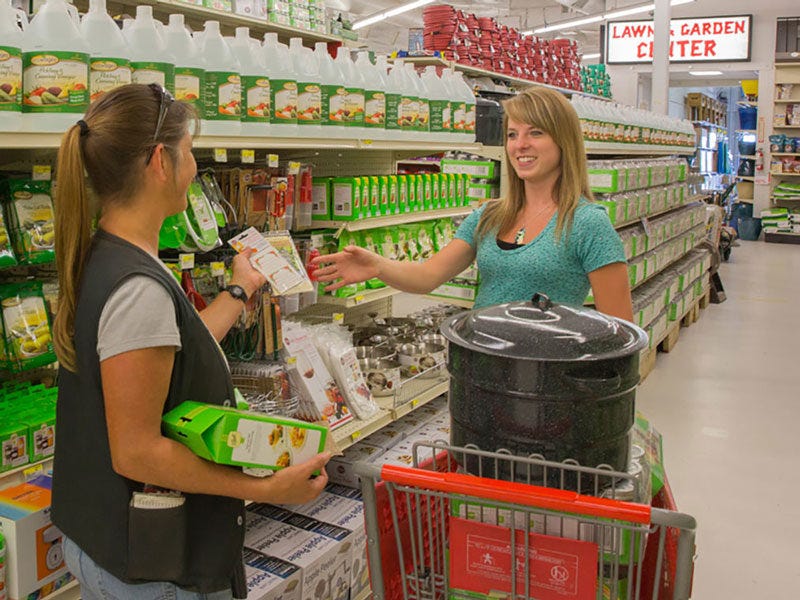
I went in to see Sherry and Katherine so they could help me make my selection of canning utensils and teach me where to even start looking... They suggested "water bath canning" because "It's the easiest way beginning gardeners could become beginning canners."
And this is the easiest way to make the best spicy pickles on the planet. Read it, enjoy.
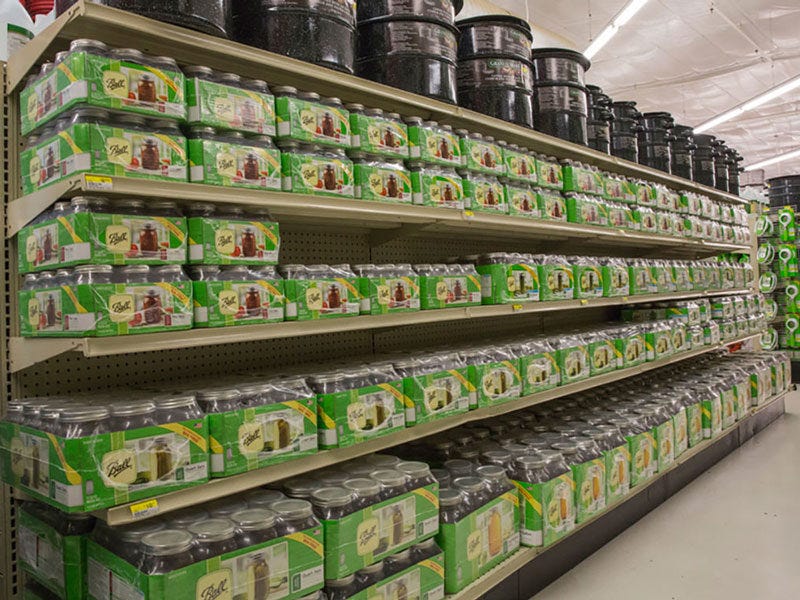
These pictures should give you a feel of "scale" of the canning life. In our store, there are ROWS of materials dedicated not only to canning, so much stuff I couldn't even imagine what to do with here... Preservatives, brine, spice, lids, seals, elbows, tops, funnels, pickling and jamming supplies. So many different canning jars from ½ pint to the ½ gallon size.
Something I learned: the big ½ gallon jars are the best seller in our canning department. If you're an active canner, I am sure you already know that, but it was cool to learn. I would have thought the pint jars went faster.
What's next to know about canning? Acid... that's right, read on.
You Need Acid to Can Produce
I also learned you need acid to can. Specifically, vinegar at 5% acidity who would have thought you needed acid to can? Not me.
Sherry cautioned me, "Now there is a debate about what percentage of acidity you need in your vinegar, but personally, for all my canned goods, I use 5% acidity. Plus this is the percentage most often recommended on all the recipes I've found online."
I said, "Great," and got the 5% vinegar.
Does anybody have a preference for a different percentage of acid solution? Please reach out and let us know by using the form (or commenting) below. I'd love to hear more on the subject, but trying to learn everything in one go limited my time to "following advice of experts," rather than "experimenting" so much... although I WAS told experimentation is part of the fun of canning.
"Once you can do the basics, you can improve and riff on recipes and come up with something uniquely your own."
All of that ^ aside, here are the basic things you need to get a hold of to go from "beginning gardener," to "beginning canner."
Materials you Need to Start Water Bath Canning
- Water bath canner... or a saucepot or pan with a lid big enough to hold and cover your jars.
- Glass jars, lids, and bands for sealing said lids.
- Common kitchen utensils for stirring: wooden spoon, bowl, forks
- Fresh produce from your garden
- Jar lifter
- Canning funnel
- Towels and pot holders (cause it gets hot in the canning kitchen)
If you're into DIY stuff in the kitchen, you might want to read about baking with Wheat Montana products.
Now, with that list of things you need, YOU'RE ALL DONE! ... Just kidding. We still have to outline the basic framework and steps to actually teach you how to water bath can.
Get a Recipe
I am obviously excited about this spicy pickle recipe, but there are many to choose from on Pinterest. Gather your ingredients and the materials listed above. Prep your spices and ingredients according to the recipe and, if you are feeling ultra-hip, go find some Class 2 Bomber Glasses and spice up your canning style (items not required to successfully can). If you can't find bomber glasses, you can check out our selection of spices and canning supplies right here.
Double Check that you have the Right Canning Gear
Obviously, you need to make sure your jars, lids, and bands are functioning properly. Jars with nicks, cracks, uneven rims or sharp edges have the potential to ruin your seal, and thereby negate the whole reason you are processing in the first place: longevity. Bands should be sized to the jars you are using. Helpful hint: ½ gallon lids and bands won't fit on a pint-sized Ball jar- just saying. Wash jars, lids and bands in hot, soapy water. Rinse well. Let them sit to dry.
Prepare your Canning "Bath"
Fill your saucepan or canning bath half-full with water and place your canning rack inside the water. Be sure your canning rack (you put this at the bottom so your jars can rest above the heat source and not make direct contact with the bottom of the pan this helps keep jars from cracking and allows for even heat distribution throughout the water). With the rack resting on the rim of the canner or on the bottom of your saucepan, you're ready to move on to step
NOTE: If you don't have a rack specifically designed for canning, don't fret: use a cake cooling rack on the bottom of your pot.
- PREP JARS & BRING THE HEAT. You need to make sure your clean jars are heated before you use them so your seal gets its best shot at (actually) sealing. How do you preheat the jars? Fill a large saucepan (or a water bath canner) or a regular-old stockpot half-way with water. Place your clean jars in the water on the rack you might want to put a little water in the jars so they don't float and flip over. Bring to a simmer over medium heat with the lid on it. Keep jars hot until we are ready to use them. However, leave your lids and bands at room temperature so you can pick them up.
- If you're like me, you disregard everything you can't see a reason for- so why do we pre-heat the jars? Because if you pour boiling liquid into a cold, glass container, there is a chance that said cold container will crack- and spilling boiling water all over your kitchen table is not something you want to do. Especially if you are canning barefoot. The takeaway? Get creative on your recipes, not on the process itself.
- FOLLOW OUR SPICY PICKLE RECIPES. You don't have to follow these (click here to read our best spicy pickle water bath canning recipe), but ask yourself this question, if I am canning, and NOT making spicy pickles, why am I canning? You can find more canning recipes over here on our Pinterest page if spicy pickles aren't your thing. You are looking for "canning brines," these will be the juice concoction you add to your fresh produce inside your hot, clean jars. Follow whatever recipe you want to and prep your canning "juice/stock" in a separate pot.
- GET YOUR HOT JARS READY. Newsflash: the glass is hot on those jars sitting inside the boiling water. Use a jar lifter or something to protect your hands and get the jars out; dump the water back into the canning bath. Fill jar one at a time with your prepped brine using a funnel for canning but don't fill the jars all the way to the top leave ½" of space between the top of liquid and lid. (Why do we do this? Read below but before you put the lid on, remove the air bubbles around the food with a wooden spoon or another utensil.
- Why do we leave headspace when canning? The premise of water bath canning is this: hot things have a greater area than cold things. What's that mean? It means when you put hot liquid in a hot jar, you leave space between the lid and the liquid because when it cools, the liquid "shrinks," and that headspace acts as a vacuum, pulling the lid down tight on the band and making a seal that preserves your food.
- PRE-SEAL CLEANING. After pouring the content of your brine into the jar, the jar rim and threads of said jar need to be cleaned use a towel. Now, center your lid on the jar allowing the sealing compound to contact jar. Apply band and tighten it firmly with your fingers only helpful hint: don't wrench it shut because it will be hard to open and may crack the glass. Place filled jars on the canning rack in the hot water. Lower rack with jars into the water and make sure the water can cover all the jars with 1" to 2" of water easily.
- LID IT. Put a lid on it and bring contents to a rolling boil.
- "PROCESS" YOUR PRODUCE. Follow your recipe to the desired processing time. When processing time is complete, turn off the heat and remove the canner lid. Allow your new canned food to sit in the water and cool slowly to room temperature this increases the chance of a solid seal.
- COOL AND STORE. Place a towel on your counter or the space you've designated as the "canning cooling place," and set hot jars there to remain undisturbed up to 24 hours this will allow that the "headspace," to seal, read "vacuum," the jars tightly. Don't touch the bands, just let them sit. After 12-24 hours, check lids by trying to lift with your fingers if they do not come off, the seal is good. Put them in the fridge to cool further and store up to a year. If they DO come off- this happens, put them in the fridge anyways and eat them first after they sit for at least 7 days.
And that's how you become a beginning gardener AND a beginning water bath canner. Still, have a question?