Coloring Easter Eggs With Materials Found In Your Kitchen
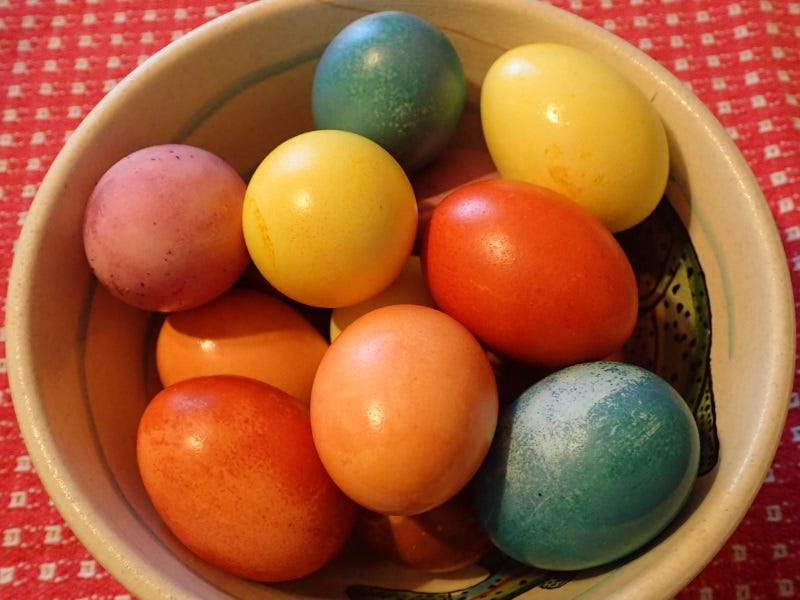
Vegetables and spices with deep, natural hues create surprisingly beautiful colored eggs for any time of the year. But, spring is known for coloring eggs and, like us, you probably spend a night or two before Easter creating these beautiful items. Most people head to the grocery to secure dyes for their eggs, but you have the tools for beautiful egg decorations right in your cupboard.
A different way of looking at dyeing
Dyeing eggs with commercial products is quick and easy. Simply drop a tablet in a vinegar-water solution and away you go. But we live in the Northwest where individualism reigns, so why wouldn’t we do something slightly unique? Using items from the garden and spice cabinet undoubtedly takes longer to prepare, but that’s part of the fun of dying and coloring your Easter eggs and is one of the reasons the end results are so satisfying.
Prepare your work area
Since the best natural egg dyes are often the foods that stain our countertops and tables, it’s important to prepare the area before you begin the process. Always cut the food on a cutting board, preferably one that can be bleached if you don’t wish to have it stained, and cover your table with newspaper or an impervious covering before you put eggs in the appropriate dyes. And have plenty of paper towels at hand to handle spills immediately.
What materials make good natural dyes
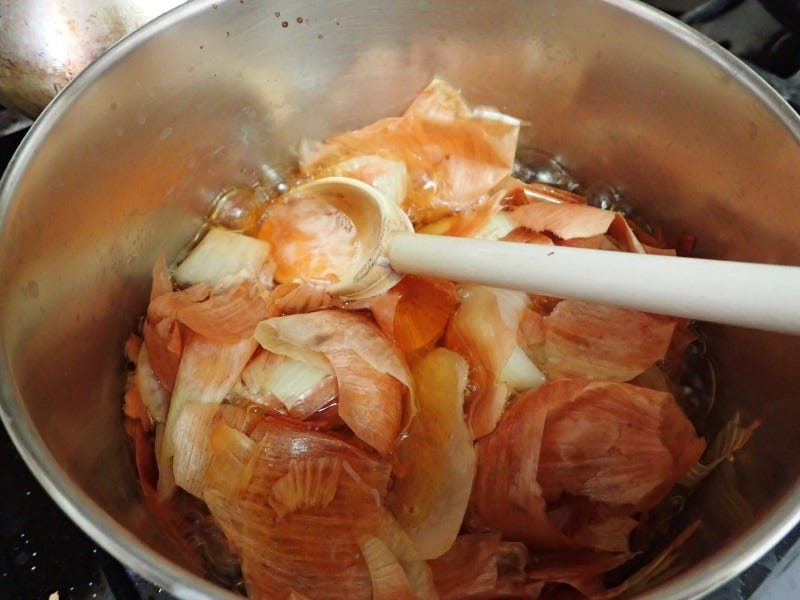
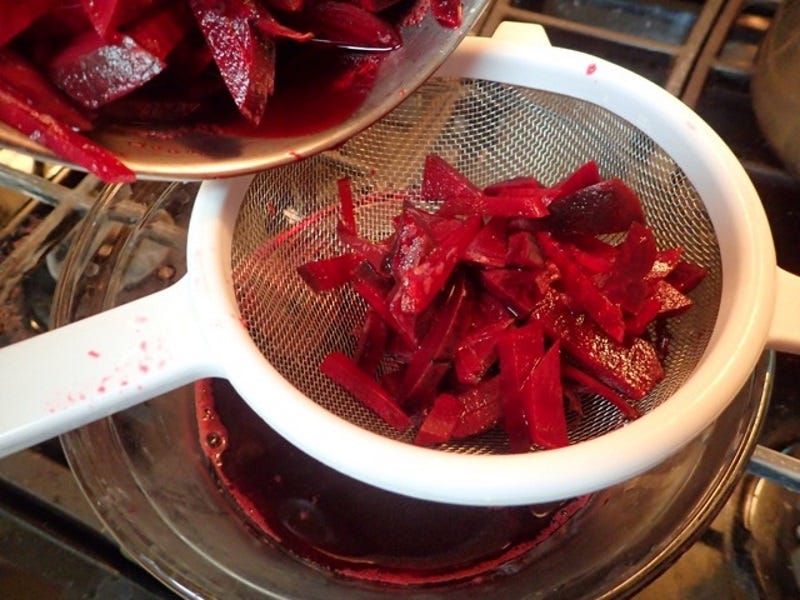
Choosing what to use is the fun part. A good place to start is to consider what foods notoriously stain anything they touch. For instance, beets are notorious for splattering red everywhere, and turmeric affects light colored cookware. But other items, such as Red Zinger tea and onion skins, aren’t messy, yet make excellent dyes when infused.
Here are a few that work well, but don’t hesitate to try anything you think might make an interesting color:
Red cabbage leaves—blue - 2 cups leaves per 2 cups of water
Yellow onion skins—orange - 2 cups onion skins per 2 cups of water
Beets - pink—2 cups beets per 2 cups of water
Turmeric - yellow—4 T. turmeric per 2 cups of water
Red onion skins—reddish-lavender - 2 cups skins per 2 cups of water
Red Zinger tea—lavender - 3 teabags per 2 cups of water
Preparing the eggs and the dyes
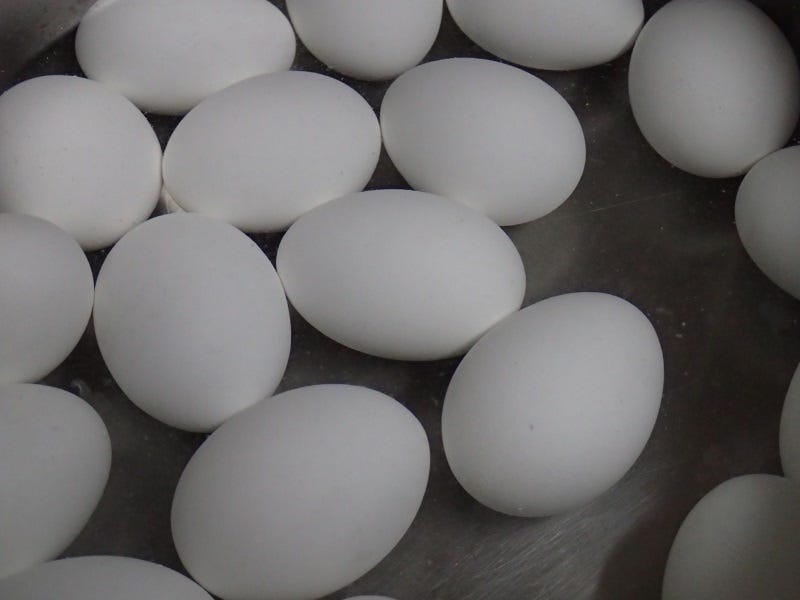
Make hardboiled eggs by putting the eggs—preferably older eggs because they peel easier—in a pot of cool water. Place on the stove and bring the water just up to a boil. Turn off heat, cover with a lid, and allow it to sit between 15-20 minutes. After the time is up, drain and run eggs under cold water.
You also need to prepare the dyes before soaking your eggs. Place the appropriate amount of the vegetable or spice in a saucepan with the two cups of water, and bring the concoction to a boil. Simmer 20 minutes. Turn of the heat, strain the mixture into a bowl or jar that allows the dye to cover the eggs, and add a tablespoon of white vinegar. The acidic vinegar reacts with the calcium carbonate in the eggshell making it more conducive to soaking up the dye. Cool the mixture before soaking your eggs. Do this process for each of the dyeing materials.
Dyeing your eggs and adding a bit of flare
Once you have your dye solutions prepared, place 2-3 eggs in each bowl, being sure they’re covered, or nearly covered with the infusion. Sometimes you might want to create bowls that reach the eggs only to a certain point, so you can soak them in a second color. Your level of creativity is endless.
As with traditionally colored Easter eggs, you can use a crayon or old candle (either paraffin or beeswax) to write names or create designs on the eggs before soaking. Think interesting patterns.
If you wish to create a different look with multiple colors, use a rubberband to wind around the eggs for their first soaks. After reaching the desired color, remove the rubberband and place it in another solution
How long should the eggs soak
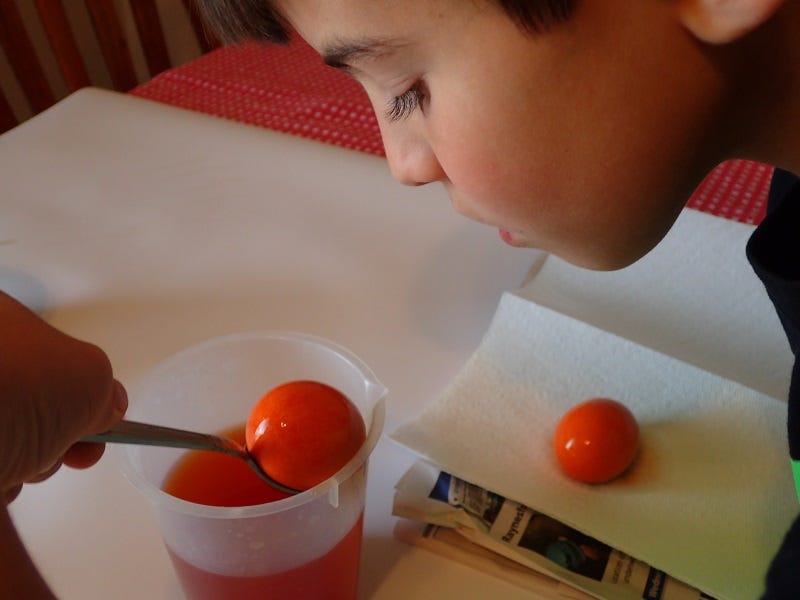
Once your eggs are in the jars of dye, they need to soak. Some of the more vibrant colors, such as the beets, will dye them sufficiently within three hours. But most others are brighter after a full night’s soak. Check along the way, using a spoon to lift them out of the solution to see if their colors are satisfactory. And if you’re going to soak eggs in multiple colors, switch as soon as the first color looks good to you.
Once they are as beautiful as you like, spoon them out of the bowl or jar and place them on paper towels to drain off some of the coloring and allow them to dry. You can store them in an egg container and keep them in the refrigerator until they are ready to hide or serve.
Give them a finish
Naturally dyed eggs have a matte finish, so if you’re going to feature these for a holiday dinner you might want to add a shine to them. To do so, dip a paper towel in a small bowl of vegetable oil, then wipe over the eggs. You might have to use a different paper towel for each color, just in case the color wipes off a little on the towel.
Dazzling your family
Dyed eggs are perfect any time of the year, but especially when it’s in coordination Easter. Create a new tradition; bring in items from the garden or grocery and peruse the spice rack. There’s no end to the options and creative possibilities.