Emergency Tire Repair: Types, Products and Directions
Have you ever had a flat tire and changed it out with your spare, only to get another flat tire before the first one was fixed? Attempted to put your spare on and realized that it was also flat? Or, didn't have a spare tire?
We've all seen vehicles alongside the road on three wheels and a jack, and maybe some of you have had the misfortune of being in that situation. Either way, having the right equipment and knowing how to repair a flat tire can sometimes be the difference between driving or walking. Whether you are on the shoulder of the road or working in your garage, here are a few options for fixing that flat tire:
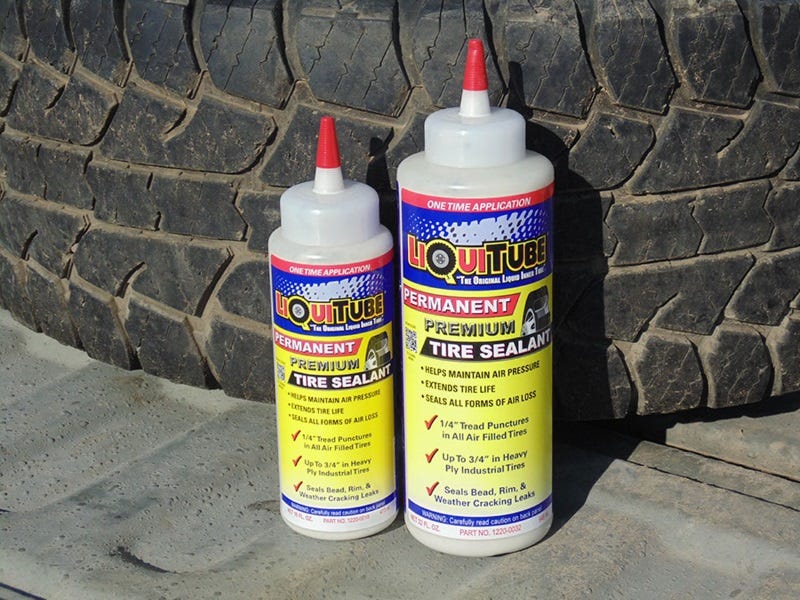
Sealants - LiquiTube's Premium Tire Sealant helps maintain air pressure, extends tire life, and seals all forms of air loss
Shop our sealants by clicking here.
- Installation should be near an air compressor so the tire can be re-inflated easily
- Position valve stem at 7 o'clock, remove valve core and deflate the tire completely
- Squeeze in required amount of sealant according to tire size
- Re-install valve core and re-inflate tire to correct operating pressure
- If tire is already punctured, remove the object and rotate tire immediately so sealant can reach the puncture
- Drive the vehicle a short distance to form a permanent seal and check periodically

Inserts - WesternWeld Deluxe Tire Insert Kit contains everything needed to temporarily fix a flat tire
- Safely remove the wheel from the hub
- Remove the object that punctured the tire and mark the hole
- If you can not find the puncture site, make a mixture of water and soap and apply it to the tire
- Look for bubbles to find the puncture site and mark the hole
- Inflate tire to a minimum of 35 psi
- Insert the probe/rasp into the hole and work it in and out to clean the puncture
- Center the string insert into the inserting needle, lubricate, and push the plug into the hole until only 1/2" of insert remains outside the tire
- Turn the inserting needle 1/4 turn and slowly pull it out
- Cut off excess insert material as close to tire as possible
- Fully inflate tire to correct operating pressure
- Re-apply soapy water to puncture site to verify the seal
- Reinstall the wheel and tighten lug nuts

Patches - Applying a patch is a more time consuming process but it is a permanent repair
You can grab a pack of patches to keep in your car right here.
- Safely remove the wheel from the hub
- Remove the object that punctured the tire and mark the hole
- If you can not find the puncture site, make a mixture of water and soap and apply it to the tire
- Look for bubbles to find the puncture site and mark the hole
- Remove valve core and deflate the tire completely
- Break the tire bead with the use of a bead breaking wedge
- Remove the tire from the wheel using tire irons/tire spoons
- Prepare the inner liner
- Apply WesternWeld Redi-Buff and scrape the area around the puncture to clean it
- Using a drill and a carbide tip, ream the puncture hole three times from the inside of the tire and three times from the outside
- Center the patch over the hole and outline an area 1/2" larger than the patch
- Evenly buff the marked area with a low speed buffing wheel
- Use a vacuum and a wire brush to remove all rubber dust
- Apply WesternWeld Self-Vulc Fast Dry Cement and allow to completely dry
- Remove the protective backing from the patch and center over the puncture site
- Using a stitching tool, roll over the patch starting in the center and working your way to the edge, stitching in several directions
- Apply WesternWeld Inner Liner Seal, cover entire buffed area as well as the edge of the patch and allow to completely dry
- Place the tire back on the wheel using tire irons/tire spoons
- Lubricate the beads on both sides of the tire
- Using an air compressor, inflate tire to correct operating pressure
- Reinstall the wheel and tighten lug nuts
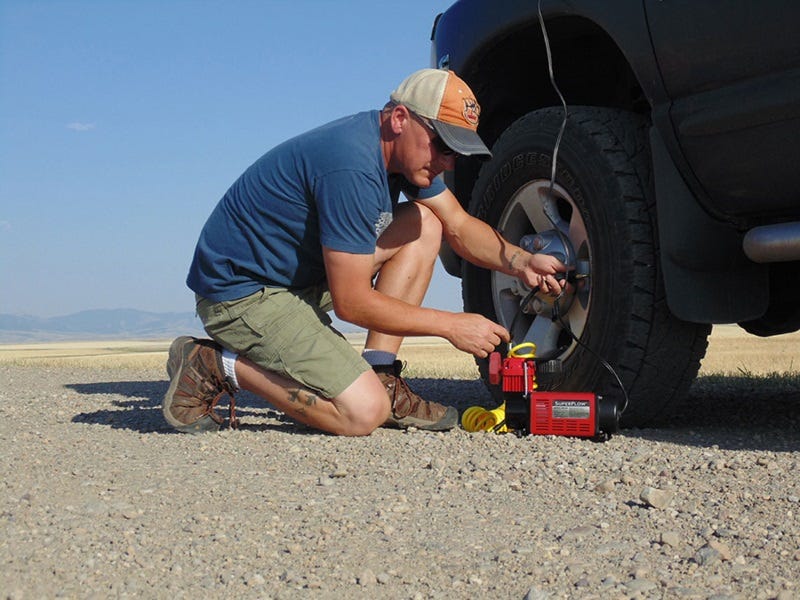
You never plan on getting a flat tire, but being prepared makes the ordeal far less frustrating. Next time you get a chance, inspect your spare tire, lug nut wrench, and jack. In addition to these basic necessities, here are some additional items to consider placing in your vehicle to make that flat tire experience easier and safer: a portable 12-Volt air compressor, a tire gauge, a tire repair kit, warning triangles, and/or red emergency flares.