New Zealand Strike Indicators

For stealth situations, you can’t beat these indicators.
By Dillon Given
Chuck, duck, CRASH... and the fish is spooked. There is nothing more frustrating than fly fishing with a hefty indicator on a gin clear river. The most perfectly presented cast isn’t good enough if the fish is spooked from your indicator. If only there were an indicator that is light so it doesn’t disturb the water, and is buoyant enough to hold heavy nymphs. But wait there is! Alright, I’ll drop the salesman pitch.
The New Zealand Strike Indicator is currently my #1 indicator when spooky trout is the name of the game. I’m sure most of us by now have seen what quality of trout and water New Zealand has to offer. In order to catch those spooky rainbows and brown with nymphs in NZ’s crystal clear water, it calls for a light indicator that doesn’t create a commotion when it hits the stream. Thus, the New Zealand Indicator was born.
No longer do we have to suffer through the clunky-ness of large indicators. Now if your next trip is to Box Canyon, then this isn’t the indicator for you. For that stretch of river you will need a large fluorescent orange buoy. If you don’t have a buoy, an Air-Lock or Thingamabobber will do the trick. However, if your next trip is to a tailwater or spring creek, the NZ indicator is your best friend. This indicator is easily adjustable, and doesn’t leave the much-hated kink in your leader.
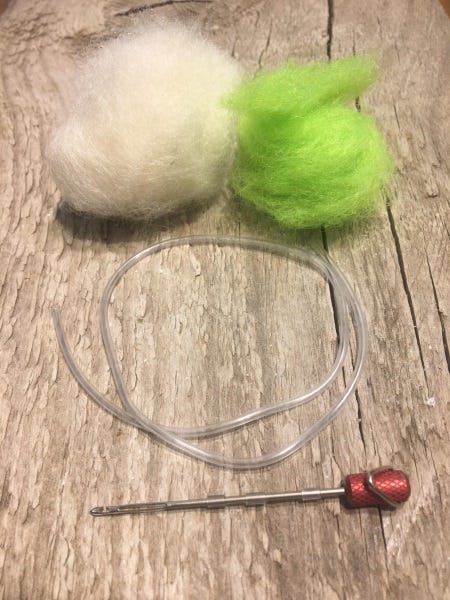
Still not sold? Let’s try this. The indicator is made of 100% New Zealand Wool Yarn. The wool is extremely light and buoyant, so it floats higher, casts gentler, and is more sensitive than most other indicators. I’m not kidding when I say it casts like a dry fly. Speaking of dry flies, it works for those too. Let’s be honest, nobody can actually see a #22 midge at 60ft. However, if you trim a small bundle of wool a couple feet away from your midge, it makes finding the strike zone a whole lot easier. The buoyant wool also doubles as fly tying material. Whether you tie it in as a post, wing, or shuck, they all work. Fall can’t come soon enough.
In order to access the indicator’s black magic, you will need the indicator tool. The starting package comes with an indicator tool, samples of New Zealand Wool, and 12 inches of replacement tubing. This will get you started. To use the indicator, you’ll need to follow these 5 easy steps.
- Hook indicator tool onto leader at desired depth
- Slide tubing onto leader, creating a loop
- Slip New Zealand Wool into loop
- Close the loop by sliding the tubing towards wool
- Insure that the indicator is secure, and trim accordingly
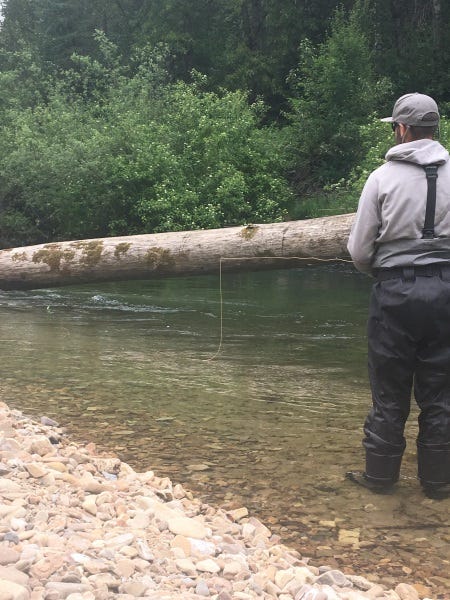
I had the opportunity to test the indicator on the Coeur d’Alene River a few weeks ago. Needless to say, it did not disappoint. Flipping nymphs into deep holes with heavy brush at my back wasn’t even a challenge. Since the wool is so incredibly light, I was able to cast my rig easier, and with more accuracy. I will now forever carry the tools to create a New Zealand Strike Indicator everywhere I go.