How To raise Sprouts and Microgreens

The lettuce and spinach are finally planted, but it’s still going to be weeks before they’re big enough to make a salad and, truthfully, I am ready for vegetables that haven’t traveled more than I have. To satisfy my taste for something fresh, I decided sprouts and microgreens are the perfect remedy for a quick, fresh treat any time of the year.
 Microgreens are fast growing and super nutritious.
What is the difference between sprouts and greens?
Sprouts and microgreens are the very early growth of seeds, whether those are Asian greens, alfalfa seeds, broccoli, or beans. The difference is how you grow them. Sprouts are a soilless method using a jar and some sort of screened lid to drain out the water. Microgreens are grown just like any new plant, but they are harvested as soon as the first true leaves emerge.
Both pack a boatload of vitamins including C, A, and K, as well as zinc. They also have enzymes that make them some of the most digestible foods available, and they can help balance your gut bacteria levels.
There is one safety caveat when it comes to sprouts. Sprouts require warm, humid conditions to grow, which is the same environment that is ideal for bacteria, such as E.Coli, Listeria, and Salmonella. This is why it is extremely important to know your seed source to ensure they are cleaned and free from soil or debris that might carry these pathogens. Either order specific sprout seeds online or at your local grocery store.
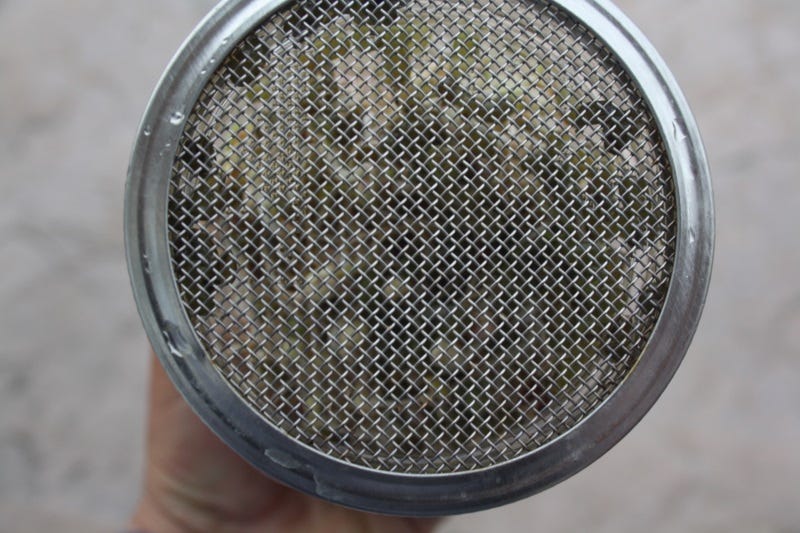 A screen that fits the mason jar lid works great to drain the sprouts.
What can you sprout?
There are a number of seeds that are suitable for sprouting, ranging from alfalfa to mung beans, sunflower seeds, radishes, chick peas, and lentils. These can be found individually or in mixes. Experiment to see what flavors you like the best.
Sprouts in a jar.What you need
Sprouts don’t require much to make them successful. A quart-sized mason jar is sufficient for a couple of handfuls worth of sprouts, and should be topped with a screen or cheesecloth to make it easy to drain.
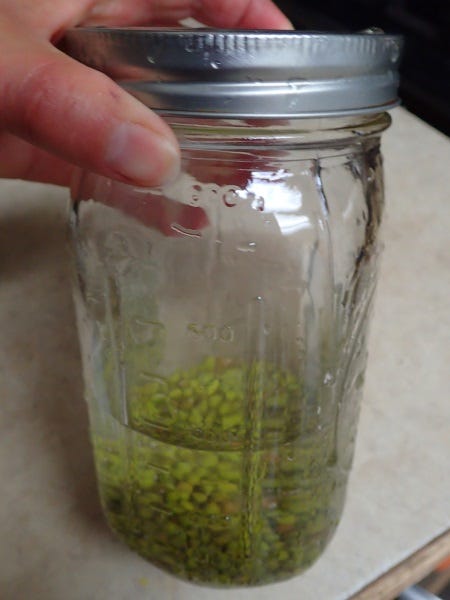 Soak bigger seeds, like mung beans, overnight.
How to sprout
Sprouting is super simple and can be done just about anywhere. Recently, I even took my jar of germinating bean sprouts with me when we traveled for the weekend. So, it’s also a very portable project.
The first step is to soak your seeds. For larger ones, such as beans, it requires 8-12 hours, but smaller seeds, like alfalfa, germinate fine after only 4-6 hours of soaking. After the initial softening of the hard, outer seed coat, drain them, then rinse with a fresh dose of water. Place the jar on its side on a countertop until the next rinsing and draining. You’ll do this 2-3 times a day until the sprouts are ready to eat within 3-5 days.
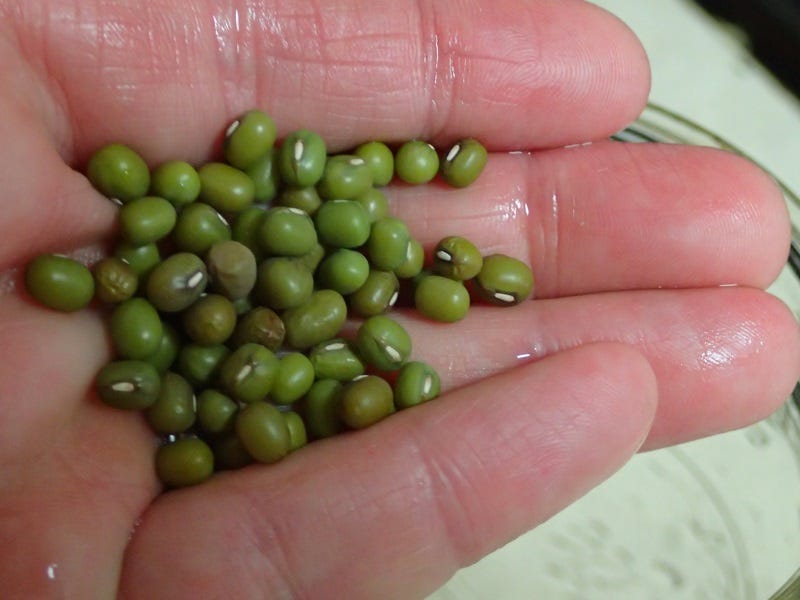 Mung bean seeds for sprouting or microgreens.
Using and storing sprouts
Once they’re the size and flavor you like, store your sprouts in a container in the refrigerator. You can use them fresh on salads or sandwiches, or just pop a pinch of them in your mouth to enjoy the fresh, lively taste.
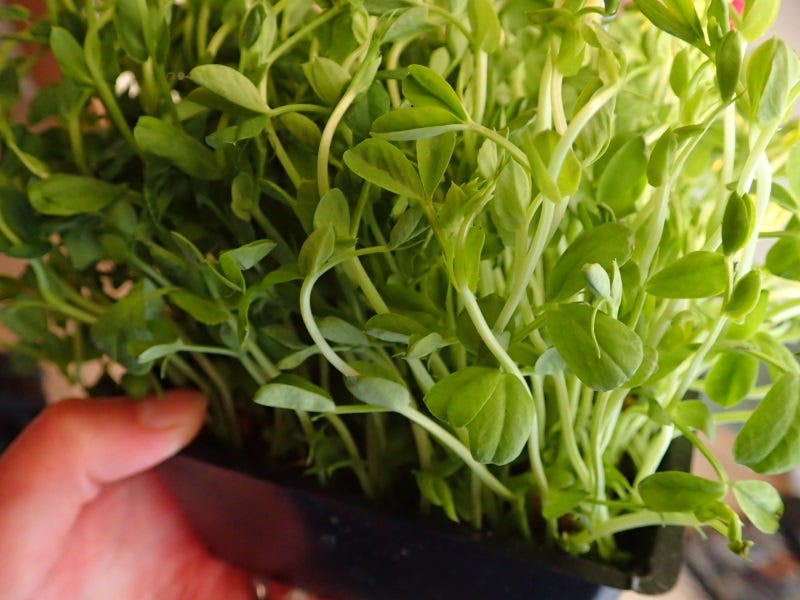
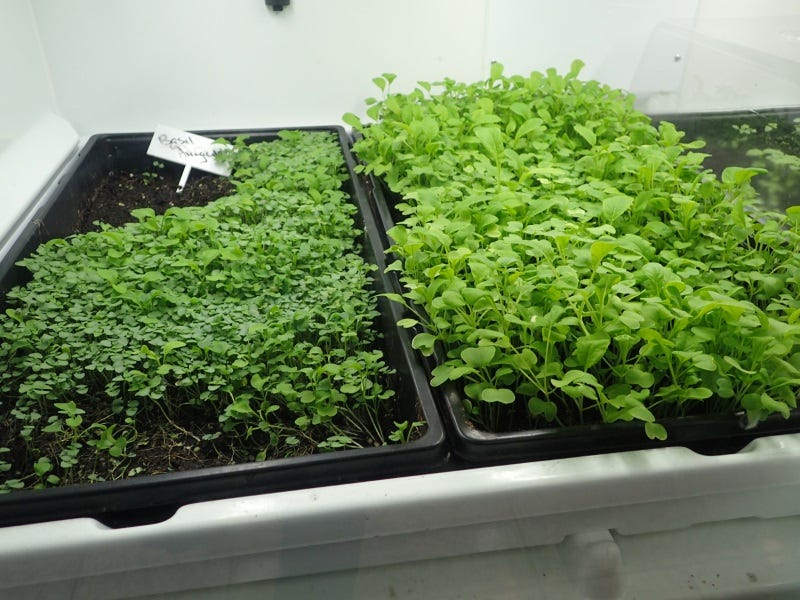 You can grow entire trays of micro greens.
What you need for microgreens
Unlike sprouts, migrogreens do need soil, but it’s still not a lot of it. You can use a regular seed starting flat, or even one of the clear containers from salad or fruit since the small size works well and it’s a bonus to re-use them.
Most experts recommend using only organic or fungicide-free seeds since some commercial seeds are treated to prevent pathogens from killing the young plants. While this is a valid consideration when growing them into mature plants, you don’t want to eat them shortly after germination when the fungicide may still be present. You can choose anything from radishes, beets, peas, basil, parsley, spinach, lettuces, mung beans, sunflowers, and many more. Feel free to experiment to see what flavors suit you the best.
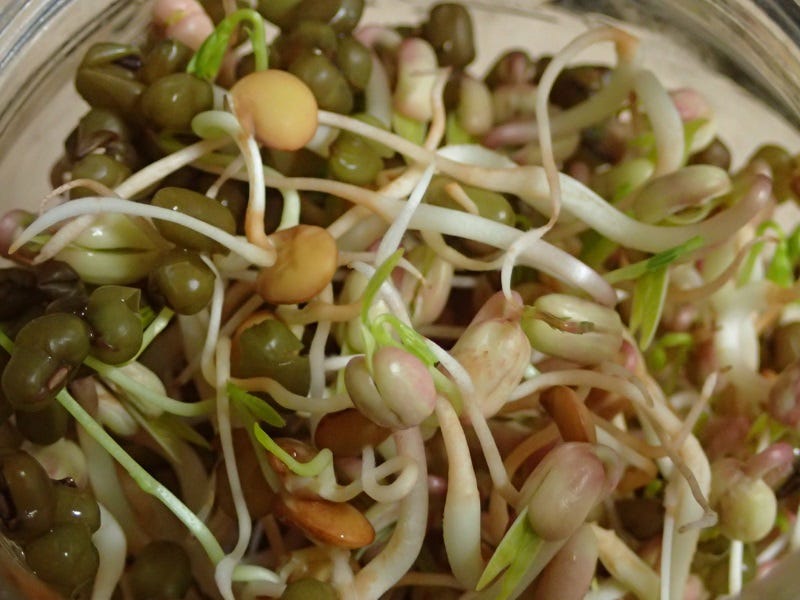 A bean sprout mix.
Planting your patch of microgreens
As with sprouts, soak your seeds, especially the larger ones like peas or beets, overnight to help them germinate faster.
Add an inch to an inch-and-a half of a sterile seed starting mix to your tray. Sprinkle the seeds on top of the soil, and using a sifter, gently sift a thin (roughly the same diameter as the seeds) layer of potting soil on top of the seeds.
Dampen by spraying with a misting bottle or by setting your plastic tray in a pan of water allowing it to pull moisture from the bottom. Place either plastic wrap or the clear top of the tray on top of the seeded soil and set it in a warm area until the seeds germinate, which can be in a matter of days.
When the seeds germinate, place the tray in a sunny south-facing window or under growlights. You can harvest them when they are between 1-3 inches tall. Using a pair of small scissors, carefully snip them at soil level. Rinse them, if necessary, and use them in salads or on sandwiches for a crunchy, refreshing bite.
The whole process takes between 1-3 weeks from seeding to harvest, depending on the variety of plant you choose. If you want a constant supply of microgreens, plant a new batch every week to have successive harvests.
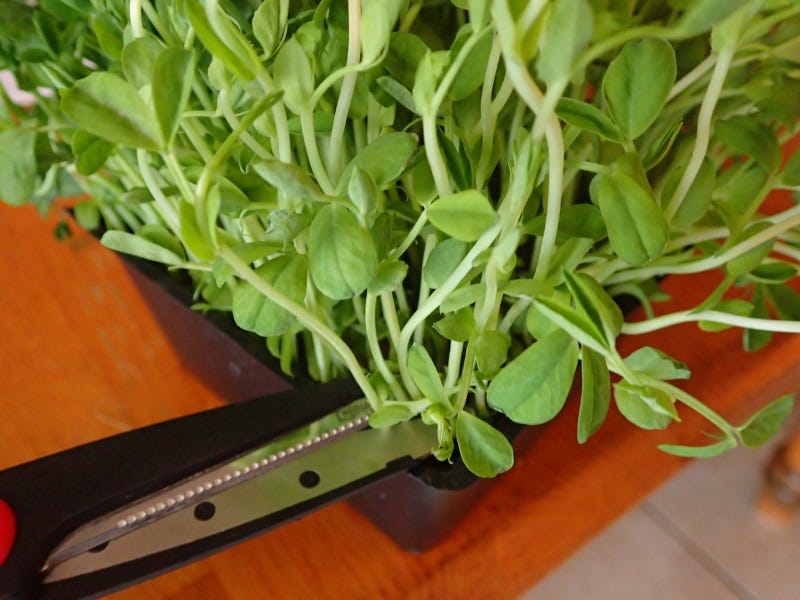 Snipping microgreens
A harvest for everyone
Even if you have no space for an in-the-ground garden, you can grow sprouts and microgreens as a nutrient-dense food source. They don’t even need warm temperatures or good weather. Soak your seeds, and germinate them either in a jar or in a little tray of soil for a constant supply of delicious, fresh greens no matter where you live.