DIY Drip System
We have all experienced it. Perhaps it is on the way to the grocery store. Or to a friend's barbecue. Or even walking in your own neighborhood. Regardless of where, you've seen it. You may have even taken the time to stop and admire it. The design. The colors. It's landscaping, and good landscaping, well, looks good. But achieving such a look takes time and effort. And not just digging holes and planting plants, but then upkeep and maintenance, and of course, watering. So how can we create a garden oasis that our neighbors will be envious over and stop joggers in their tracks? All the while still allowing us to have day jobs? Installing a drip system is how.
Once installed, a drip system will water your plants more efficiently.
Rather than water spilling and spreading away from the plant, as seen with traditional sprinklers or hand watering, drip systems emit water slowly, usually at a rate of 1-2 gallons per hour. This 'slow watering' doesn't allow water to build up and spill away, instead, it waters directly over the plant's roots, soaking down deeper, which promotes better root growth and leads to a healthier plant (think bigger plants and lower water bills).
Drip systems will save you time.
Drip systems water your plants. For you. As in you are no longer hand watering plants. These systems are very versatile and can be hooked up to hoses, attached to automated timers, or even hook into your existing sprinkler system. No matter how you hook it up the one thing you are no longer doing is standing in your lawn watering plants for the next hour, freeing you up to do the next item on the 'to do list.' Weed growth in your beds should also decrease because water in no longer being spread across the entire bed but directly to the plant.
About the only thing a drip system won't do for you is mow your lawn. But I'm sure if you were to call up my Dad he would do that for you too, and he loves that stuff, so it is a win win. So let's learn how to install a drip system and start enjoying our front porches again, drinking our favorite summertime beverage, waving to our neighbors as they gaze with envy. Mmmm, delicious.
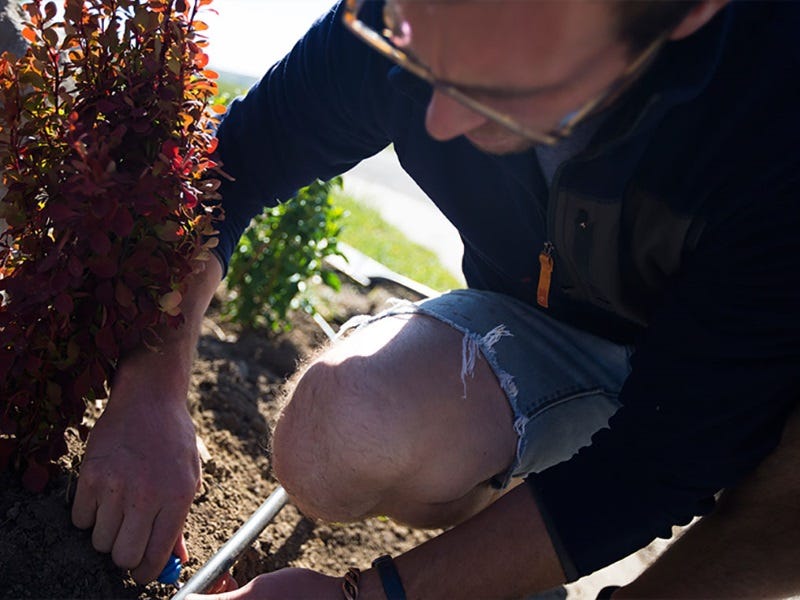
DIY Drip System Step 1:
To begin we will start with laying our Orbit ½" Distribution Pipe. This pipe is the supply line to your soon to be hands-free drip irrigation system. Using Orbit loop stakes (landscape pin) to hold it in place, begin to unroll the pipe through your plants. Maneuver the pipe so that it is within one foot of each of the plants you wish to water (if you can't get this close to all of them that is okay). Continue to unroll and pin the pipe in place until all desired plants have been reached (I have found every few feet for pins is a good starting point). Cut off the remaining pipe and close the end by using an Orbit ½" Driplock End Cap fitting.
Helpful Tip: Beware just kinking the end and duct taping it. Over the years the duct tape could break down and the pipe end will open, leaving you with a mess on your hands. However, if you have some spare 1" pipe laying around, cutting a 2 or 3" section, kinking over the end of the 1/2" pipe, then slipping the 1" pipe section over the kink, and then taping that works great.

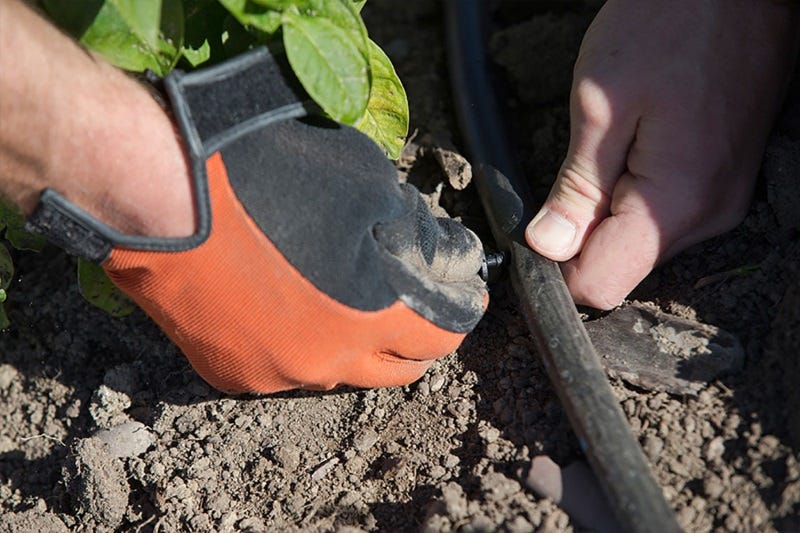
DIY Drip System Step 2:
Now it is time to poke holes in ½" Distribution Pipe. This can be done with the Orbit Drip Tubing Punch Tool. Place one hole per plant and face the holes so that they are directed toward the plant.
Important: If the holes are not done with this device there is a very good chance that the holes will be too large and the barbs that will be placed later will either leak or completely fall out.
Helpful Tip: Position the holes in the side of the pipe, not the top. This will help prevent the barbs from breaking later and prevent kinks in the soon to be attached ¼" distribution pipe.
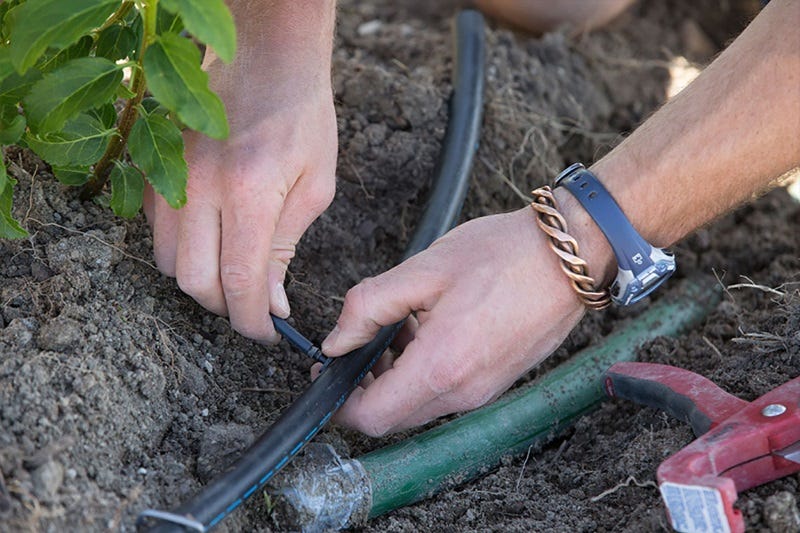
DIY Drip System Step 3:
Using Orbit ¼" Irrigation Barbs, place one barb in each of the holes that you just poked. You will know that the barb is fully inserted because it will make a "snapping" noise when it is inserted correctly. If you don't hear a snapping noise, don't panic, just pull back on the barb (straight back, not side to side) and if you cannot easy pull it out then it is fully inserted.
Helpful Tip: When it comes to inserting barbs I like to use a gloved hand, your finger tips will thank you for it.
DIY Drip System Step 4:
Find the smaller Orbit ¼" Distribution Tubing, and with tube in hand, measure the distance from the barb to the center of the plant. Cut the tubing to length for each plant and press the ¼" tubing over the barbs.
Helpful Tip: When cutting the ¼" tube make sure to cut straight across the tube; if the cut is angled there is a greater chance it will leak or come completely off from the barb. This commonly happens when using a utility knife to cut the tubing. Using Orbit Pipe cutters doesn't cause the tube to kink when cutting and provides a nice clean cut.
DIY Drip System Step 5:
Attach your drip emitters to the end of the ¼" tubing at each plant. The drip emitters are what control the flow of water at the plant and are the reason why drip systems work so well. There are a couple of emitter types as well as a variety of rates to choose from. I personally like flag emitters, and use the Orbit 2 gal/hr Flag Dripper. The number of emitters needed is dependent upon the plant, and your soil (Do not over water!). Most plants will do great with just one emitter running at 1-2 gallons/hour. Larger shrubs and trees should have 2 or 3 emitters depending on size and species.
Helpful Tip: For plants like day lilies, hastas, and ornamental grasses I use a single 2g/hr emitter. For shrubs like burning bushes, spirea, and mugo pines I use two 2g/hr emitters. Anything larger, like trees, get three 2g/hr emitters.

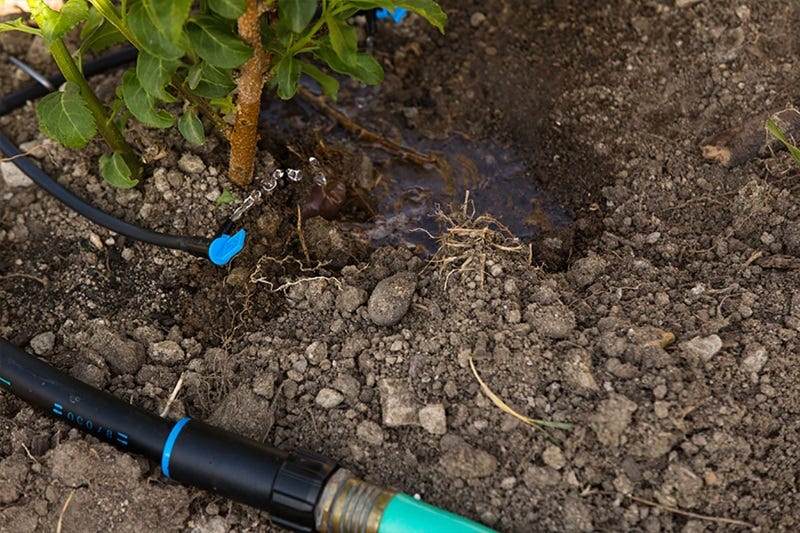
DIY Drip System Step 6:
Time to hook up to water. Depending what you are hooking your drip system up to you will need to find and install the appropriate fitting/adapter to connect the ½" Distribution Pipe to your water source. The most common sources are a garden hose, hose bib, or sprinkler irrigation line. Once attached, turn the water on and check each of the emitters to ensure they are working (if you missed any holes they will be squirting into the air at this point).
Helpful Tip: If attaching to a hose or hose bib, it is possible to have too much or not enough pressure, so start slow, maybe a half a turn. If your ¼" Distribution Tubes aren't blowing off (too much pressure) and all of your emitters are dripping equally than you have your hose valve set correctly.
How Often do I Run my Drip System?
Run times will depend on temperature and soil type. If it is 100 degrees out for a week your plants can get crispy fast, so maybe every day, or every other. If you have dense soils, like clay, watering ever other or third day would be fine. Monitor your plants and adjust as needed. If you are using a standard hose bib to water, attaching an automated hose bib timer (or this one) makes this super easy.
The most important thing to know when running a drip system is that you run it for hours, not minutes, at a time. Remember, the emitters emit water very slowly, so you have to have the water running for longer. Even though you are running a system for hours at a time, the amount of water is still typically less than standard watering, and now all of the water is getting to the plant in the best way possible.
Let the Envious Lawn Gazing Begin
And that is how to install a drip system. If placed in an existing bed make sure to cover it up with mulch if you have it. If it is a new bed and you plan on using weed fabric, the fabric can go right over the top of your system and put your mulch on top of the fabric. (Another good reason why placing your barbs on the side of the ½" Distribution tubing is a good idea).
It is now time to prepare yourself for healthier plants, lower water bills, increased neighbor envy, and more time off, from watering that is, I'm sure the gutters still need to be cleaned and the truck needs an oil change. Yep, life is good.
For any of your other Home & Garden needs make sure to visit North40.com
So they can run off of gravity, but if you do that I wouldn't use emitters because they are pressure regulated, so water could be nonexistent to inconsistent. You also face the challenge of how to get air out of the system each time you finish watering. Think of it like siphoning gas. Once you get it started it will run, but when it ends and air gets back in the line there is some effort needed to get it going again. I suppose a guy could put a valve at the bottom of his barrel and shut off the system before draining the barrel, but even then I would think you would need some extra oomph to get it going again. I suppose for the oomph you could put in a T joint with a valve just outside the barrel so you could hook a hose up to it. On the T joint hook up your garden hose and turn the valve so that the hose flushes your line, then you could turn the valve to run from the barrel and turn your hose off. Of course a pump would help with this. I would use an inline pump vs a sub pump personally, but I suppose both could work. If you use a pump, then you would need to determine how much output it runs at. For example, if the pump runs 60g/hr, and the emitters are 1g/hr, then you could probably run about 50 emitters on the line, depending on how long it is, due to friction loss from the line and the emitters. Again, if you don't match this correctly then you will get inconsistent watering. Now if you are looking to automate this feature, that is going to be a totally different headache. The last thing to think about is this. I live in Montana. It rains in the Spring, sometimes. So the plants probably don't need much at this time. However, come mid summer they do. So I fill up my barrel in the Spring, but once I drain it in the summer I will never get enough rain to fill it back up.
So, yes you can, but you may actually be more efficient if you hook it up to a hose bib, use emitters, and have a timing valve to control the duration of your watering. Personally I think using rain barrels is great, but I think they are something to use for smaller scale watering, perhaps a single raised garden or small herb area, or something like that. I think if you are trying to use it for something like the landscaping surrounding your home you will get into a number of difficult situations. But that is just one man's opinion and I would love to know if you get it up working how you did it.
Something else to get into the habit of is every Spring when you hook your system back up you should go and check your system. Sometimes the drip emitters or 1/4in drip lines can come off, usually due to angled cuts, and you will have a stream of water instead of a nice slow drip. Typically you will be able to see the stream or hear it. Just make a new clean cut on the 1/4in line and put the emitter back on. Just another tip.
Glad to hear we could inspire you. If you come across other questions let me know.. I'm excited to hear how it goes!
Thanks for the article…you have inspired me to try a drip system in my own flower beds…once I figure out the winter part!