Starting Seeds: Tutorial & Best Practices
Despite winter weather refusing to fully release its grip, it is time for some green in your lives by starting your vegetables, herbs, and flowers for the season.
While there are fantastic plants at your fingertips in the greenhouse, starting your own allows you to choose varieties often not found on the greenhouse shelves, as well as simply enjoying new growth before the ground thaws.

Starting your own seeds is a long process, particularly if you have a penchant for slower growing varieties such as basil, onions and peppers that need to be germinated 10-12 weeks before planting them outdoors, but it's not particularly difficult, nor does it require extensive equipment.
At its simplest form, used yogurt containers with holes punched in the bottom set in a sunny window will suffice, or you can advance to a more elaborate set up with adjustable lights and watering systems.
We'll discuss various options at either end of the spectrum.
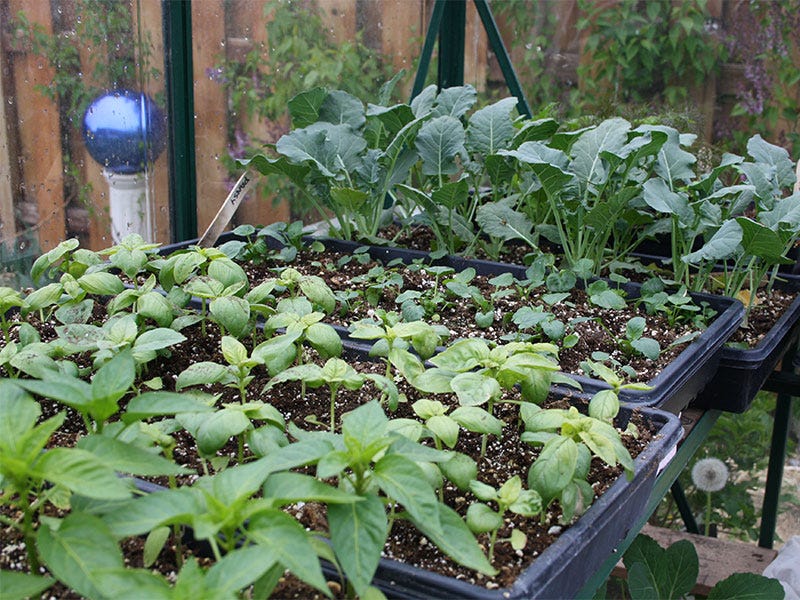
Containers Best Containers for Starting Seeds
As mentioned, re-purposed food or juice half-gallon containers (with holes punched in the bottom) can be utilized, along with recycled plant pots. If you do reuse old plant containers, be sure to wash them thoroughly with hot, soapy water, preferably with a hefty dose of white vinegar added to the cleaning process to eliminate pathogens.
Or you can buy new containers, either using 4-6 packs, or seeding entire flats at once.
Heat you Need to Start Seeds
For home germination, one of the best places to keep your containers while you're waiting for the seeds to sprout is on top of the refrigerator. Most seeds do not require light for germination, and the consistent warmth, is an extra benefit.
A heat mat does keep your plants happy, though, and is a welcomed addition to your seed starting regime if you wish to purchase one to improve their growing environment.
Soil Type for new Seeds
Do yourself a favor and invest in a new bag of potting soil. Do not use soil from the garden or soil that you used last year in containers. Both of them may contain pathogens that will kill your fragile seedlings in short order, or they may be deficient in nutrients.
Light Requirements for New Seeds
This is the most challenging aspect of starting seeds indoors, unless you set up a rack with lights. Seedlings typically require 12-16 hours of strong light a day, which is difficult when you're relying on natural light since we don't enjoying the minimum of 12 hours of light until approximately the third week of March. And even then, if you have them in windows, you'll want to move them to follow the sun.
While it is possible to grow seedlings without supplemental lights, having a lighting system with the grow-light poised 4-6 inches above the plants and set on a timer, will ensure an ample, consistent source eliminating scraggly plants.
Water Requirements for new Seeds
Keep the top of the soil moist while waiting for germination. This is best done with a squirter bottle. It's also useful to pull cellophane over the top to aid in keeping the soil damp by minimizing evaporation.
Here are some plans for a DIY drip system if you want to automate the process.
Once the seedlings are germinated, you can continue to spritz them as long as you can keep up with their watering needs. You can also set the containers in a shallow pan of water to allow them to draw up the necessary water from the bottom.
This does help reduce the risk of some diseases.
Do I need Fertilizer?
While some potting mixes do have a fertilizer in the soil, you do not need to fertilize the seedlings until they have their first true leaves.
When you do begin to fertilize an easy way to make sure they have consistent nutrients is to water with a quarter-strength dose of a water soluble synthetic or organic fertilizer.
If you don't want to constantly add the fertilizer to the water, you can feed them once a week.
When to plant your seeds depends on what you're planting, as well as the projected final frost date for the year.
Read your seed packet and count backwards to plan accordingly. For example, if the broccoli packet reads to seed indoor 4-6 weeks before the last frost date, you can typically plant them by the middle of March to set out by the end of April or first part of May.
For the actual seeding, the style depends on you. Fill your container with the soil and dampen either by misting or placing the container in a pan of water.
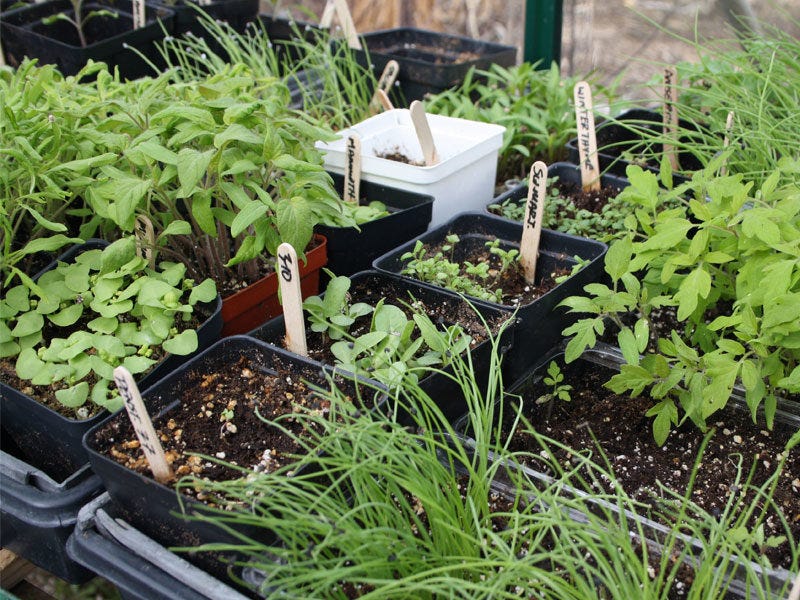
To plant your seeds, you can put a seed or two per container or planting cell to eliminate the need to transplant them later. Or, you can seed a lot of seeds in a container to thin them out later.
Once you plant your seeds, place cellophane over the containers and set in a warm place. Keep an eye on them, and make sure the soil remains moist. When the seeds begin to emerge, remove the cellophane and place the container under the lights or in a window.
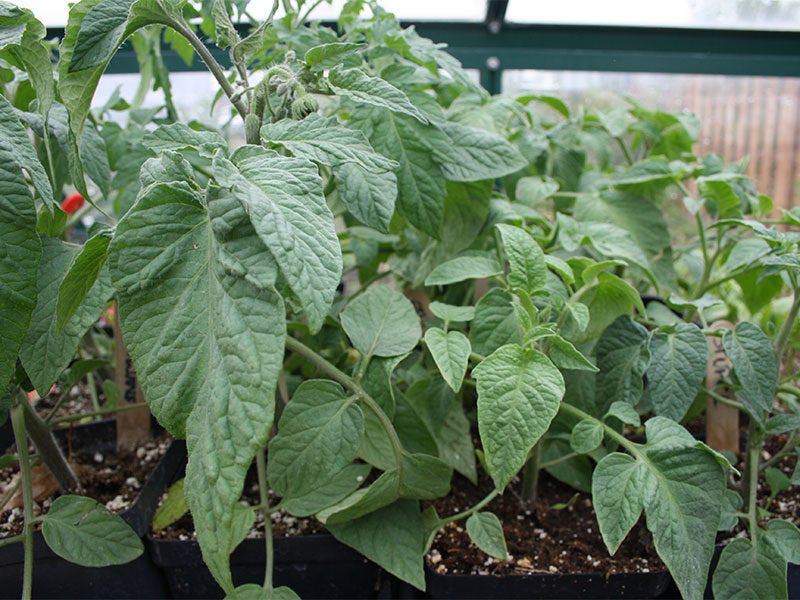
If you have a greenhouse or cold frame, you can set the plants out there once they are vigorously growing. Bring them in at night, or provide a heat source until the evenings are safely above freezing.
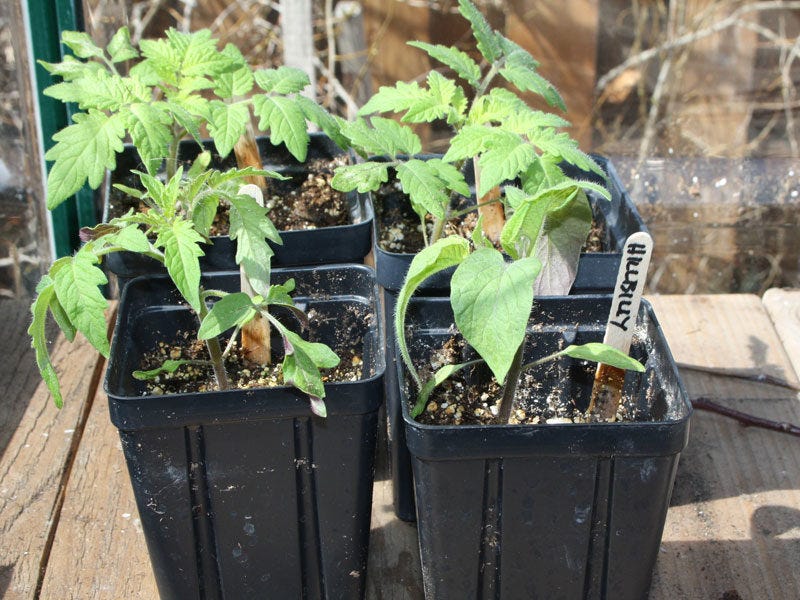
If you seeded heavily and need to transplant, wait until the seedlings have a couple of sets of leaves before placing them in larger containers or flats, if you grow a large number of the same variety. Planting out of flats is easy because you can simply scoop out the plant instead of knocking it out of a container.

Before you are going to plant your tender seedlings out in the harsh, cruel world of the garden, you'll need to acclimate them to outdoor conditions by gradually setting them outside for an hour then hours, at a time.
After a few days of being exposed to window and direct sun, they should be ready to set out in the garden.
Starting your own plants is a perfect way to extend the gardening season. You can enjoy green long before it's time to plant in the garden, as well as be specifically choose the plant varieties you can grow.
Need some tools to help you out? Check out our garden tools section here